Here are some tips and trick for Automotive Photography.This write-up will hopefully help out some fellow car enthusiasts in finding how they can take that one “money” shot of their car. All these ideas come from about a year or two of taking pictures of cars on a regular basis, experimenting with angles and camera settings.
The process:
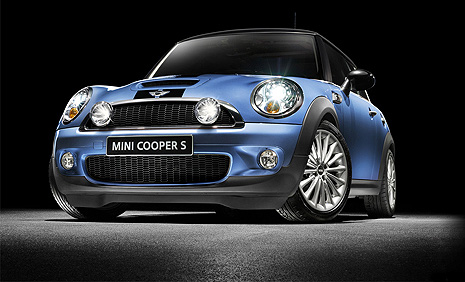
1. The first step in getting the right picture is your background. Unfortunately, if the background isn’t right, the viewer will have lost paying attention to the main subject and it will draw the eyes to the background, away from the car. Try to find a background that either compliments the car, or just adds to the car, without completely distracting you from it.
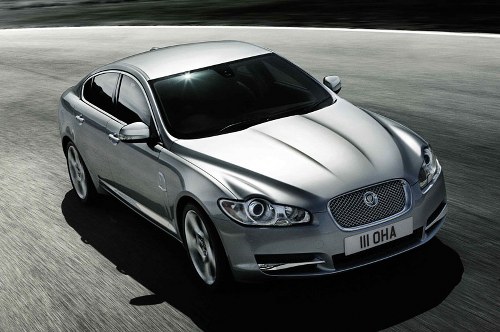
2. The next step in getting a great shot is the angles you use. An extreme, or different angle can give an aggressive and mean look to a car if that’s the goal. Not only does it do that, but it also can help with the background. By getting lower, or at eye level with the car, you can get rid of certain distracting objects. There are a few different angles that you can take your pictures at to give the pictures different feelings.
A. The eye level angle.
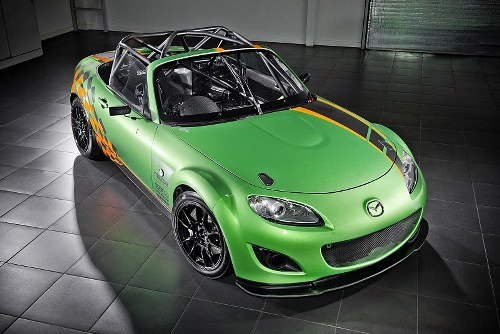
As previously stated, not only can this help get rid of distracting background objects, but it helps by giving off an aggressive look to the car, and it doesn’t look like you just ran outside, walked up to the car and started shooting away, you actually put out the effort to kneel down and get the shot.
B. Extreme tilted angles.
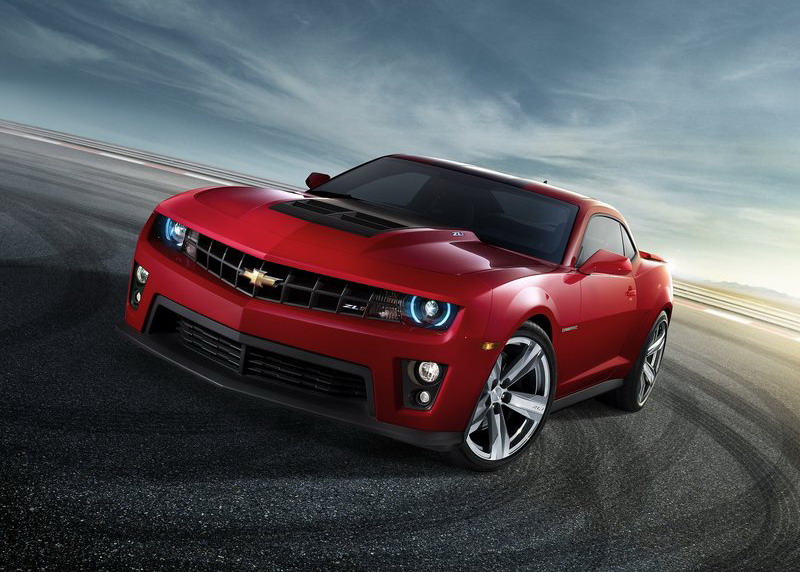
A tilted angle is tough to get right, if you tilt it too far, it becomes more of a distraction and takes away from the pictures quality, and if you tilt it too little, it just looks like you messed up while taking the picture. If you can get this angle down right, it will definitely make for some pretty cool pictures and it sometimes gives it an effect of motion, as if the car were to drive right off the page.
C. Shoot from above the car.
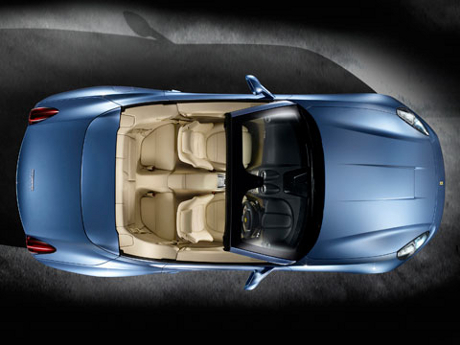
If you have access to a tall ladder, rocks to climb, taller buildings, or even a two story house, this can provide a different point of view, and its usually very cool.
D. Shoot from the ground.
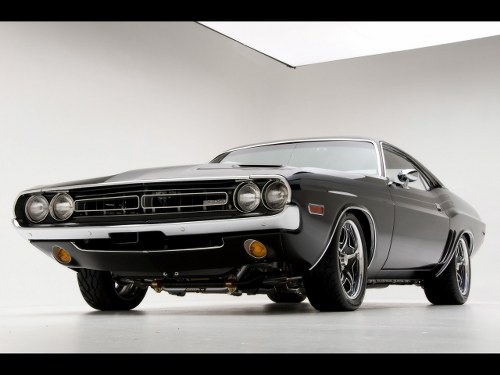
Sometimes, shooting while setting the camera on the ground is good. It gives similar results to shooting at eye level, but if theres a bump, or change in elevation you can use that in the bottom of the frame to provide interesting foreground for the picture, and it can also be used to provide a contrast to the rest of the colors in the picture.
3. Different positions the car can be in for the shot.
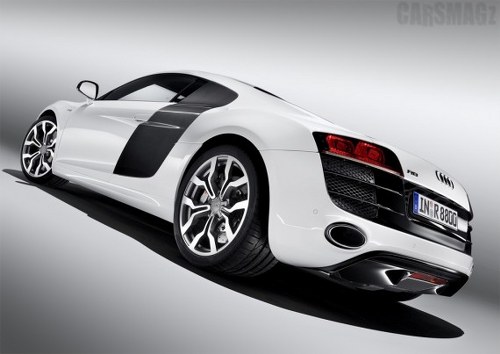
Not only do people want to see the front of your car, they also want to see the sides, and rear of it. For the most part, you can use all the techniques in the write up to take pictures of all the different sides. There are still some different things you can do to get the most out of these pictures. While taking multiple angled shots using the same background, don’t be afraid to move the car! If you keep the car in the same spot and just walk around at every angle to get the picture, they are a little more boring than they could have been if you moved the car around, and you’ll also be able to use different backgrounds and different lighting to get these pictures. There aren’t any examples of this that I could show you that you shouldn’t already understand from reading the rest of the write up.
4. Moving “action” shots. Nothing, NOTHING beats a great action shot of a car. If you can pull a good one off, I can almost guarantee that it will probably end up being one of your favorite pictures. Not only does it portray your car doing what it does best, but it shows more emotion in the shots, and you can imagine what happens next. There are a few different techniques in doing this.
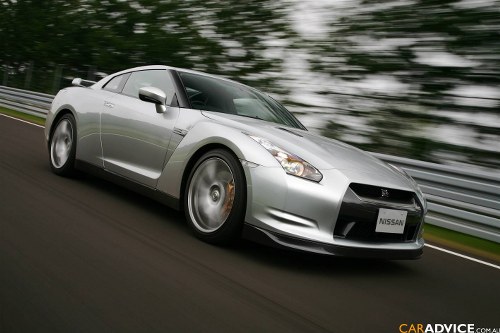
A. Panning. Panning takes practice, a steady hand, and a capable camera using the proper settings. The results show a blurred background, blurred wheels, and it gives of the feeling of the car really moving. Generally, you don’t want your shutter speed to be any faster than 1/125 when doing this, with an F stop F8.0 or more. Depending on how much zoom you’re using and the lighting. Using a tripod or a monopod will allow you to use slower shutter speeds which will in turn give more blurring effects. What you do, is follow the car with the camera as it moves down the road or track. While following the car, keep taking pictures, the more pictures you take the better chance you have of getting a good shot. Experimenting and practice is all I can suggest with this. I’m new to the idea, so I don’t have much practice, so my example shots will be less than Ideal, but you’ll still get the point.
B. Shooting from another moving car. This is a great, and relatively easy way to get some very cool pictures. The way I’ve done this is ride shotgun in one car, hang out the window, and fire away, it will take multiple shots to get a nice clear picture because most roads are bumpy, and wind is also a factor. Other things you could do would shoot from an open rear window, hatch, sunroof, convertible top, etc. at slow speeds. The same ideas for backgrounds of a car standing still apply to this technique. Try to get a flattering background if at all possible, if not possible, fret not, you’ll still probably get some great shots. If its possible to catch the car turning on a banked turn, that will also help.
5. Lighting.
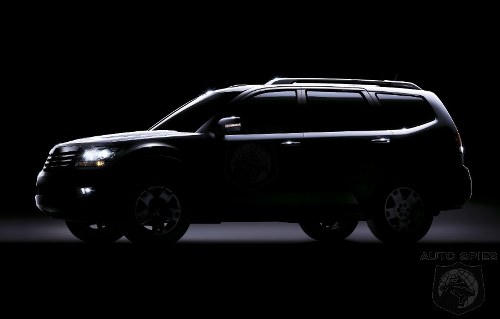
Lighting is another thing that can make or break a picture. The general rule of lighting is shooting within an hour (“the golden hour”) of sunrise or sunset, will give a nice soft, warm look to the pictures. This is because it creates a nice golden color shining on the car, giving it nice reflections, and warming up the foreground and background. In my opinion, it is best to shoot during the sunrise, but for the most part it depends on the weather conditions, and if you have a great sunset one day, it very well might give better results than a sunrise under less than perfect conditions. Also, shadows are something that are created by different light sources. When the sun is behind you, face the part of the car being photographed towards the sun. Play around with angles to get the right reflections on the car with this. One thing to be careful with while doing this, is your own shadow finding its way into the picture. Try at all costs to avoid this, as it will most likely require cropping later on.
6. Zoom. Use your cameras optical zoom! Zooming in on the picture brings more attention to the car, and less on the background if that is the desired effect. Digital zoom on the other hand is something to stay away from. The only thing it will do is lessen the quality of your pictures, by creating more digital noise.
7. The Rule of Thirds. This isn’t a very important factor in basic photography of your car, but once you get relatively advanced, you can put this into practice and get some interesting results. The rule of thirds goes against common logic that would make someone think the picture is best if the main subject is in the very middle of the picture, but in some cases, by doing this it causes the picture to lack tension and movement, which is what grabs most peoples’ attention. The way to apply this would be to imagine lines dividing the picture up into thirds, vertically and horizontally. By placing the main object on one of these intersections, depending on the picture it can give you the picture a completely different feeling.

