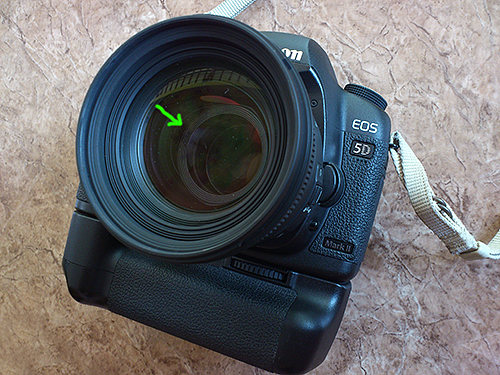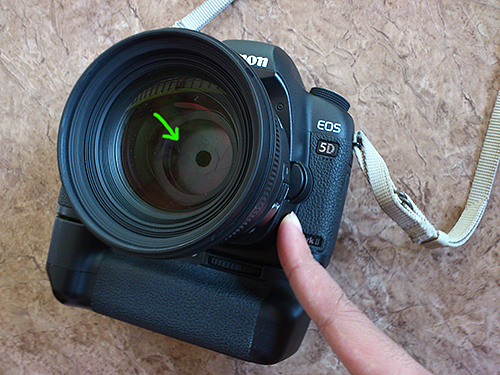
When mounting a lens to a DSLR camera body, then peer into the viewfinder, what you’ll see is the image in the lens’ widest aperture settings. Now what if you want to see the image when using the smallest aperture opening straight from the viewfinder in order to get an accurate image of how the results will turn out?

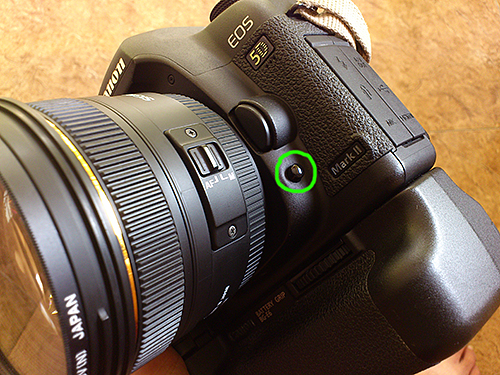
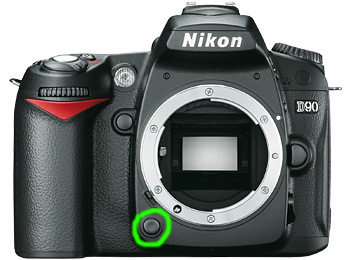
Luckily, DSLR camera manufacturers provided a feature called the depth of field preview. This button is usually located on the front part of the camera body. In Canons or Nikons like in the Canon EOS 5D mark II and the Nikon D90, for example, this button is located next to the lens mount. In the image above, the green circle shows the location of the depth of field preview button in the Canon EOS 5D mark II and Nikon D90.


How to use it is, in a narrow aperture setting (f/5.6, f/8, etc.), press and hold the DOF preview button while peering into the viewfinder. What you’ll see is the approximate view of the results if you shoot using said aperture setting. As you’ll see, the image will show the bokeh / blur level and the sharp areas. One thing to remember, when we press this DOF button, the image in the viewfinder will seem a bit darker. This only occurs in the viewfinder and doesn’t emulate the lighting conditions in the resulting photo. The lighting of your results solely depends on the settings you set on your camera. What you only need to note when pressing the DOF button is the sharpness of the image.
Ok, good luck. For any questions, fill the comments column below.


