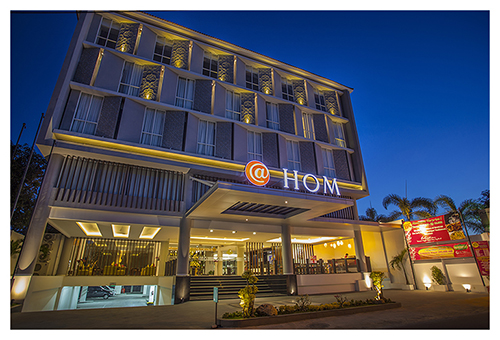
Immortalizing flickering lights at the dark night is one of the photography branches which are lot of fun. The notion for it is called “night shoot”. Those gleaming and sparkling lamps are captured by the camera and appear like colorful stars that warm and cheer the dark night. And it just simply becomes so beautiful.
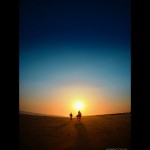
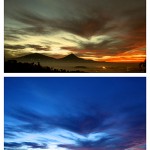
However, there is a moment where those shining lights can look even more beautiful compared to the night time. The time when the sunlight is already disappeared but the sky is not completely dark. At that very moment, we can look up at the sky and find some dark blue hues on it. That is the exact moment which we call “blue hour” in the world of photography.
Every day, there are only two periods of blue hour. One is in the early morning when the sun rises and in the evening when the sun sets. These two moments pass by very quickly around 15 minutes only.


In such limited moments, taking some photos during the blue hour is a challenge in itself. There are times when photographers are not quick and ready when they are too engaged in shooting objects and do not realize that the sky is already dark and then it appears black when gets shot. In order to prevent such thing to happen, there are some tips and tricks to get images during the blue hour.
– Several days before, do some survey first on the location where you like to shoot.
– Stand by and get ready on the location half or an hour before the blue hour.
– Set the camera before the blue hour arrives.
– Shoot in bracketing mode. The explanation on bracketing mode can be read in the following article: WHAT IS AUTO EXPOSURE BRACKETING?
– Use tripod. This is a must-have-accessory for every night shoot enthusiast or blue hour hunter. Because while performing the night shoot, there are few light sources that can get into the lens. Without using tripod, the images will come out blur and unclear.
– Use small diaphragm. Personally, we prefer to use F/8 up to F/11
– Use wide angle lens
Well, yup, have a nice try!