Here are a few tips and tricks for birding photography enthusiasts, whether it be for photographing pets or wild birds.
1. What you’ll need:
– 300mm or 400mm telephoto lens
– Teleconverters.
– Monopod or Tripod
– Camoflauge clothing; such as jacket, pants, and hats.
– Beanbag
– Camera Bag
– Mosquito-repellent lotion.
2. Autofocus Point Selection
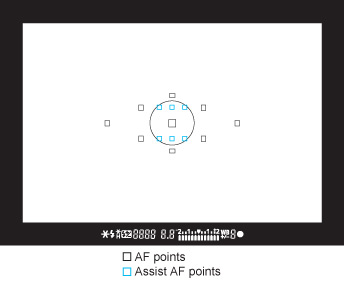
It’s best you manually choose the AF (Autofocus) points so it won’t constraint your creativity. If you let the camera algoritm choose the autofocus points when photographing birds, the camera may focus on objects closest to you and not your intended subject. Choose AF points that will target the bird’s head or eye.
3. Use a Telephoto Prime lens.
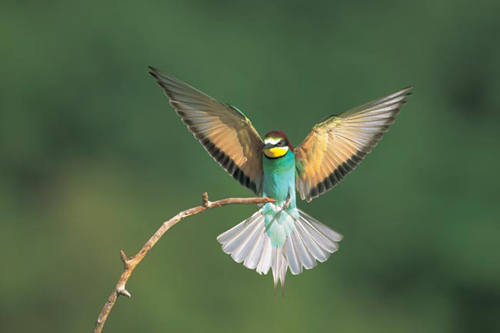
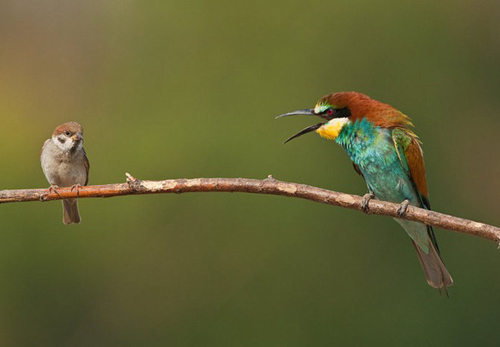
Why a prime lens? It doesn’t have to be a prime lens, but prime lenses are better because they are equipped with high-quality optics and have larger aperture openings than zoom lenses. A good quality telephoto prime lens can great help capture a magnificent bird picture. A prime lens can well isolate a subject within the frame because its shallow depth of field. This wide aperture (f/2.8 – f/5.6) can create a blurry background, thus creating an undivided focus on the object of the frame.
But also note that these prime lenses like the 400mm f/2.8 are quite expensive. But you do get what you pay for.
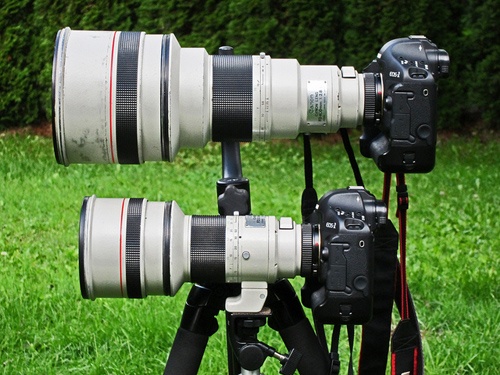
image source: via
4. Metering mode and the right ISO settings.
Use Partial/Spot or Center-weighted Average metering mode, because the main focus of the photograph will be the bird and not the area surroundings.
If you photograph a dark-colored bird with a light background, you’ll have to up the exposure compensation a bit in order to get high level of details. Photograph using the RAW format so any post-processing you do in various softwares won’t damage the quality of your photograph.
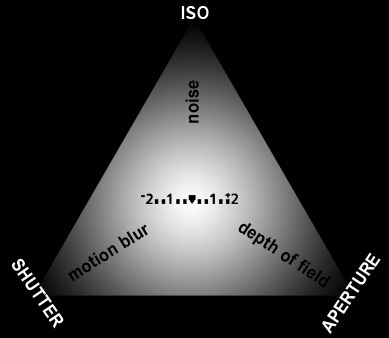
It’s best to use high ISO settings (800 or 1600), because this will up the shutter speeds. High shutter speeds are a high-valued commodity because birds are constantly moving. With high shutter speeds, you are more guaranteed to sharply freeze the movement within your frame. Sure, noise may occur when using high ISOs; but with the technology of DSLR of late, 800 or 1600 ISO can still churn up good photographs. And it’s better to get a sharp high-ISO photograph, than a shaky photograph using 200 ISO.
5. Camera Backpack.
In a condition where we’re always on the move in photographing the birds, a good camera bag will ensure the safekeeping of your equipment. A camera backpack can also evenly support the weight on your back for easier carry-on, much better than a shoulder camera bag.
6. Supports apparatus.
Other than supporting the weight of a DSLR and a large lens, a monopod can also reduce shock and make sure your photographs stay sharp. If you want your camera at body-level when you’re standing up, use a tripod with a ball-head center support for a more versatile positioning of the camera.
7. Low body positioning.
For the best results when photographing birds in flight, you may have to lay down on the ground with your camera supported by a supporting apparatus beanbag to get the best angles.
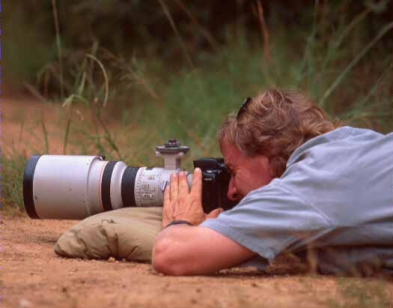
image source: via
8. Birds in flight.
For photographing birds in flight, use the
Additional tips:
– Shallow depth of Field.
For a classic bird photo, choose a wide aperture (between f/2.8 and f/5.6) to a shallow depth of field. You’ll get a sharp object that pops in the frame, against a blurry background.
– Don’t ignore the background.
Positioning your object against the right background is quite crucial. For a professional-looking bird photograph, you of course need to make the background as simple as possible. Find leafy backgrounds or trees and shrubberies with colors that contrast your bird target. But also note that you need a background that’s far back from the object, so you can get the bokeh you need to isolate your object.
– Don’t forget to wear mosquito repellents.
Photographing birds in nature may mean you’ll be in stealth mode submerging yourself in wild shrubs. And these are usually where mosquitoes hang out. Use mosquito repellents as much as needed so you’ll stay comfortable and safe (from any disease these mosquitoes may carry) when you’re waiting for that perfect moment to photograph.
– Don’t forget to survey the site beforehand.
Don’t rush to take photos when you’re in a new area that you haven’t been before. Survey the spot, learn the bird patterns, take note of the best times to photograph with the perfect lighting, times when most birds are at bay, and any other details that’ll come useful for your photography session.
