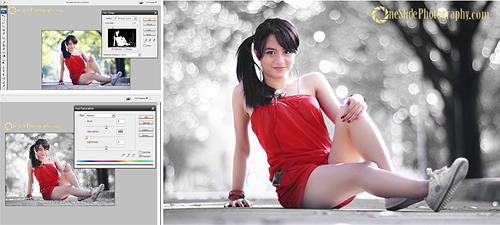
In Selective Color Photography Using Adobe Photoshop part 1 and part 2, I’ve explained how to achieve a selective color photograph using masking and using hue and saturation settings. In this 3rd part, I will show you how to create a selective color photograph using the “COLOR RANGE” feature on Adobe Photoshop.
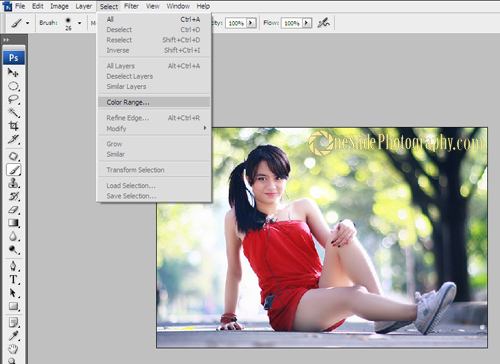
1. The first step is to open the desired file in Adobe Photoshop, then click SELECT >> COLOR RANGE.
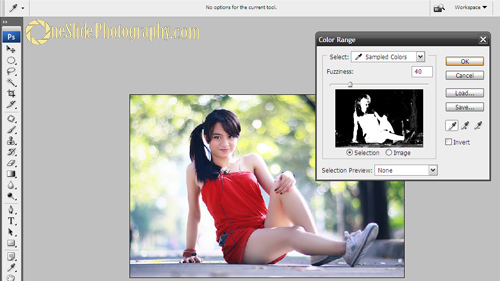
2. With the “COLOR RANGE” feature, you can select the areas that you want to keep colored and which areas you would like to change into black and white. In this example, I selected the red-colored clothing area and the skin areas. By using the “SAMPLE COLOR” tool, you can select those areas by pressing the Shift on the keyboard while sweeping through the desired areas. After the areas are completely selected, it will look like this:
3. Next, select SELECT >> INVERSE on the toolbar. This is to select the areas that we would like to change into black and white. The areas selected are the inverse of the selections made using the “COLOR RANGE” in the previous step. Once it’s done, it should look like so:
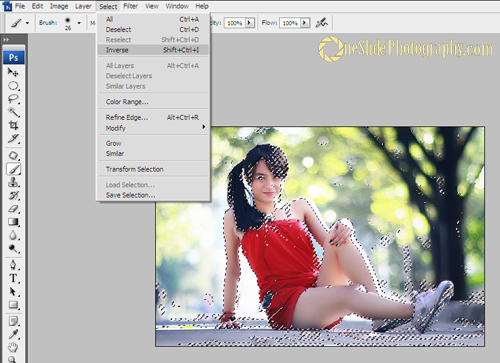
4. For the next step, we will convert the selected areas to black and white. You can do this by selecting IMAGE >> HUE and SAURATION >> then setting the parameter in the “MASTER” tab to -100.
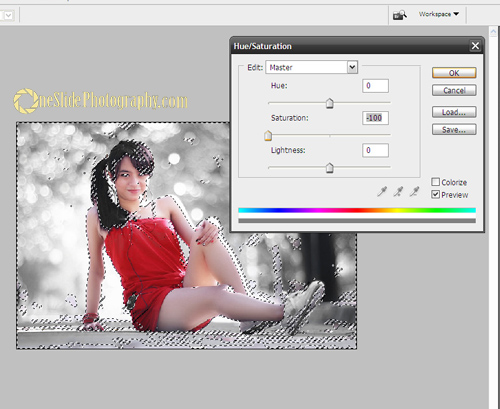
5. For the last step, click SELECT >> DESELECT on the tool bar. The result should look something like this:


