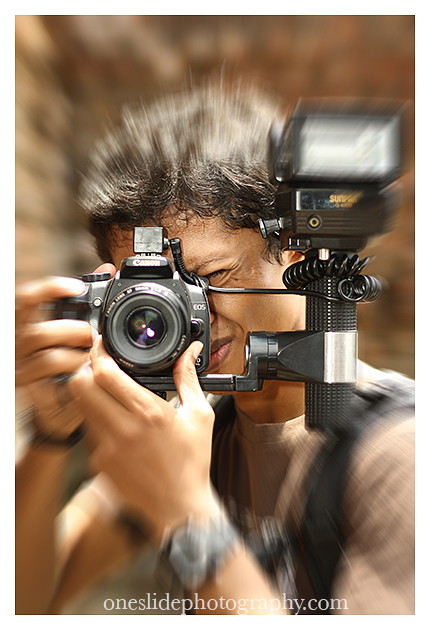
Before, I’ve covered tips and tricks of zooming techniques in photography. Maybe there are those out there that have difficulty making it work. The biggest difficulty is synchronizing the zooming of the lens position with the pushing of the shutter button. Or another difficulty maybe the result turns out too shaky because the shutter speed used was too slow. So what would be a solution? The easiest would of course be by using the magic of Photoshop. The following are steps to creating the zooming effect using the “Radial Blur” feature in photoshop.
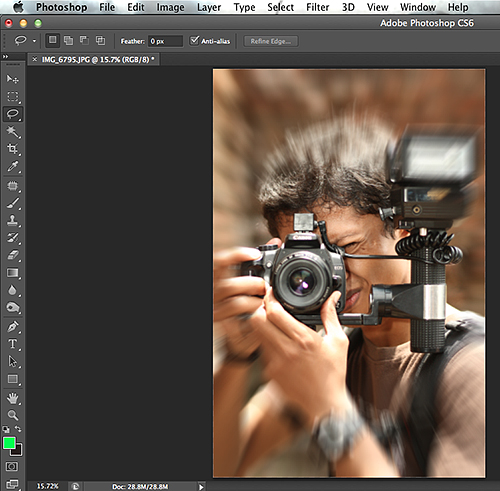
1.Ready the photo you’re going to edit in Photoshop. In tool bar, choose the “Lasso Tool” to select the photo area.
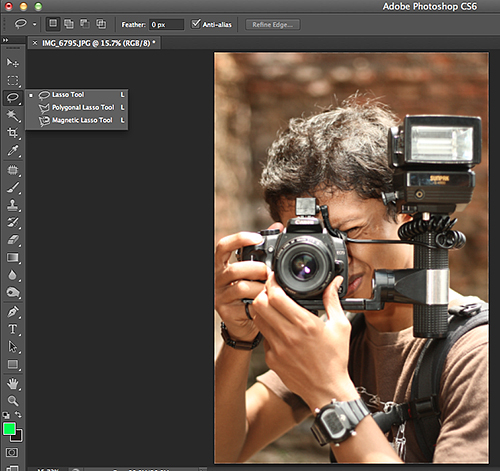
2.Select the area in the photo that you want as the focus (the area that’ll stay sharp in the end).

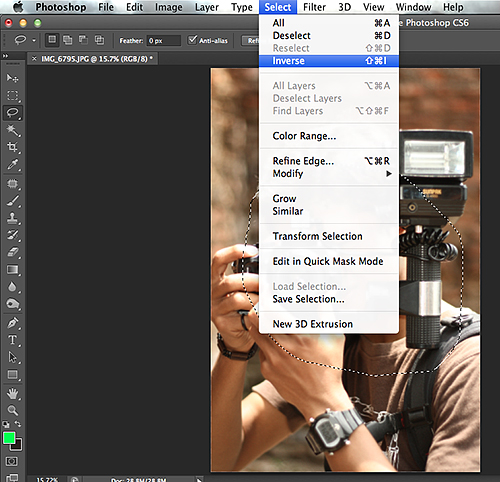
3.After you’ve made your selection, click the “Select” button and choose “Inverse.” This is to select the areas that you’re going to apply the zooming effect to.
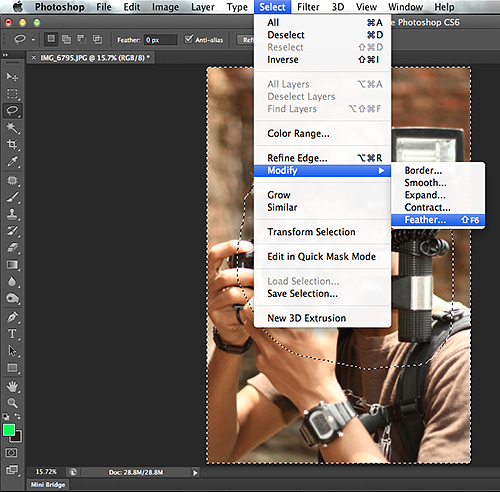
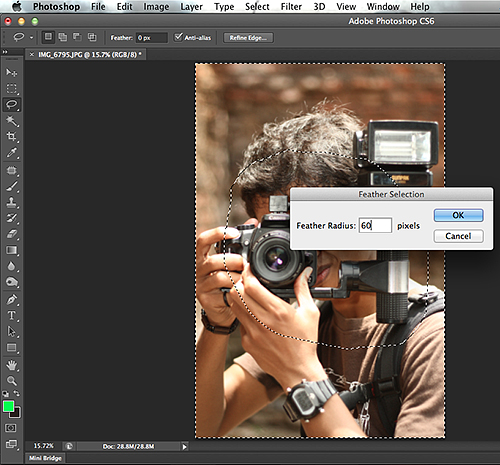
4.After clicking “Select,” go to “Modify” – “Feather.” This is to create a soft gradation in the selected area. Adjust the Feather radius to 50-80 or to a value that makes the gradation feel right to you.
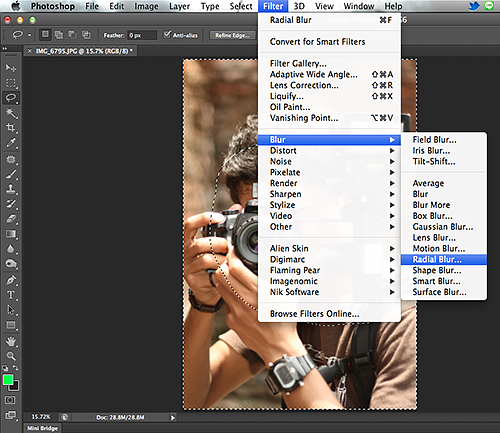
5.Next, go to “Filter” – “Blur” and choose “Radial Blur” as pictured below.
6.In the Radial Blur window, there’s a “Blur Method” menu. Select “Zoom,” and toggle the quality from Good to Best. The “Amount” in this menu will determine how massive the zooming effect on your photo will turn out. It’s best not to set the amount too high, it’ll make your photo unclear beyond what you’ll want as a zooming effect.
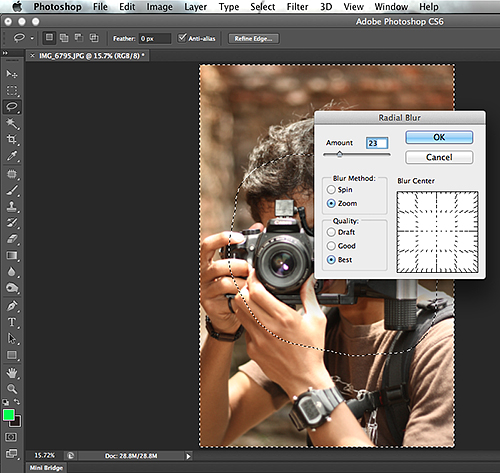
7.After all parameters have been set, click “OK” and you’re done! Easy peasy, eh?
