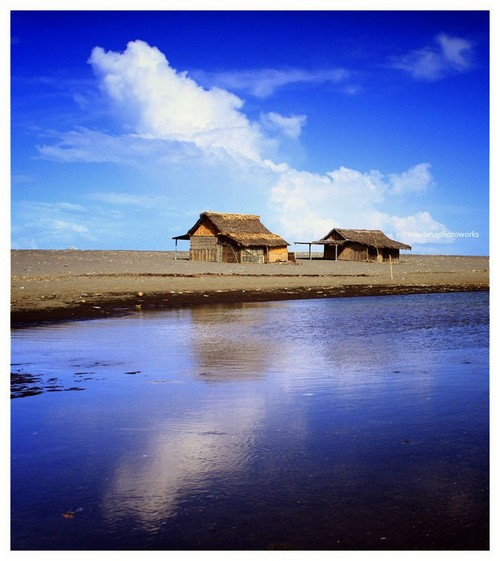
Using reflections in photography can lead to some amazing effects and beautiful images. Using water, windows, mirrors or any sort of reflective surface can change an image into a work of art. Reflection photography is an art because you have to dig deep into your imagination to see the hidden beauty. It is also a science because you should know the right angles and techniques and must be more than familiar with your camera to capture a perfect shot. Here are some tips and tricks for capturing reflection.
1. Firstly, try and go when the light is at it’s best, either bright and early, or in the evening as the sun is setting. Be sure to take along your tripod to ensure a sharp shot and try using a couple of filters. A polarising filter will help you to control the amount of surface shine from the water, and a graduated neutral density filter will help ensure that the sky isn’t overexposed.
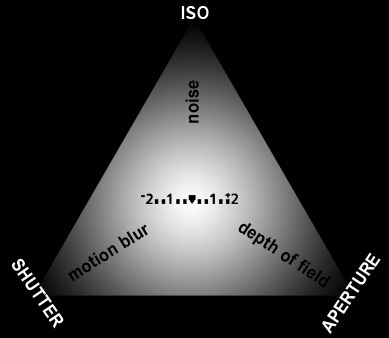
Try experimenting with slightly longer shutter speeds than normal to smooth out the water and, as I mentioned before, be sure to take into account the depth of field, angle of the light and try focusing in on the water for that extra level of drama.
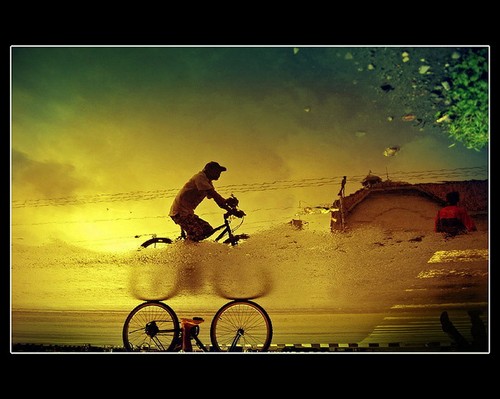
2. Focus depends a lot on the distance between the subject and the reflection. First, try focusing on the subject, then trying focusing on the reflection. This should produce slightly varied results and your preference will depend on how much attention you want to draw to the reflection.
Finally, think about the angle of the light and how it affect the reflection. In a studio setting you can manipulate this to emphasise the reflection, but in a natural setting you may want to explore different viewpoints to find the angle at which the reflection is most visible.
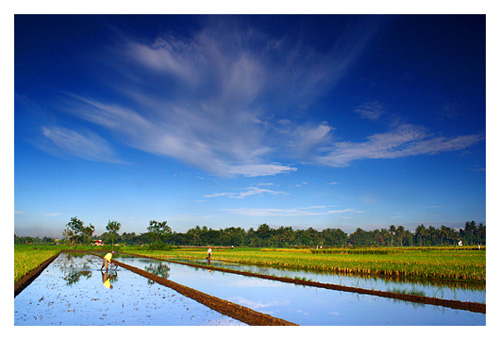
3. Water is the perfect substance to use to capture a reflection. For something a bit different try going underwater. The reflections created underwater can be just as or even more impressive then the ones on the surface. Shoot close to the surface as the colours and the light are less filtered and will produce richer results.
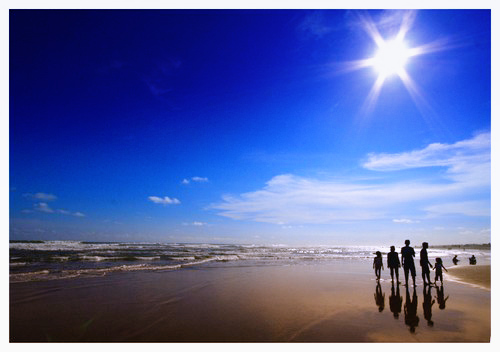
4. The exact look of a reflection photo can vary a lot based on the camera angle you choose. If you place the reflective surface either horizontally or vertically, the symmetry created can be a powerful element of the photo. In such a case you’ll have two copies of the subject in the photo: the original and the reflection.
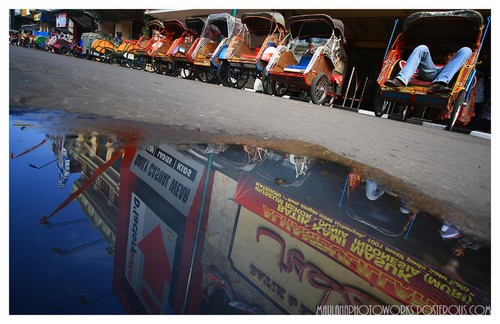
5. Reflection photos will turn out differently depending on whether the surface is smooth (such as still water or some shiny chrome) or rippled such as the water fountain’s surface below to the right. It’s important to remember that shiny surfaces such as these don’t absorb light, so if using artificial lighting, think carefully about the amount and angle of the light in relation to your surface. You may want to experiment with lighting from above or behind your subject. Try to ensure that your surface is clear of scratches and fingerprints, especially when focusing in on detail within the reflection. Flat surfaces are easier to work with, as they will give more complete reflections.
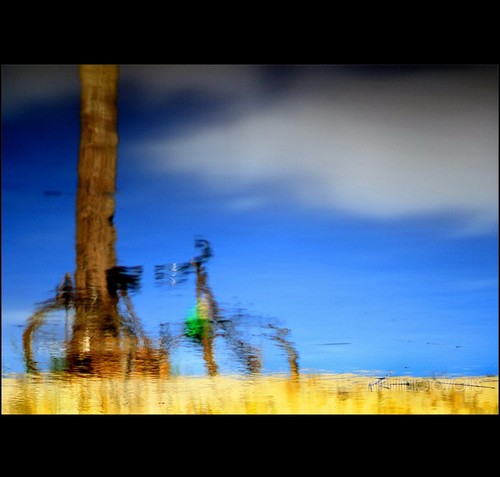
6. You may want to utilise a reflective surface to make an otherwise predictable photo shoot more interesting, you may want to capture stunning real life landscapes, or you may want to experiment with angles and lighting to create eye catching abstract art shots. The joy is in the variety of potential shots, now it’s up to you to go and capture them!
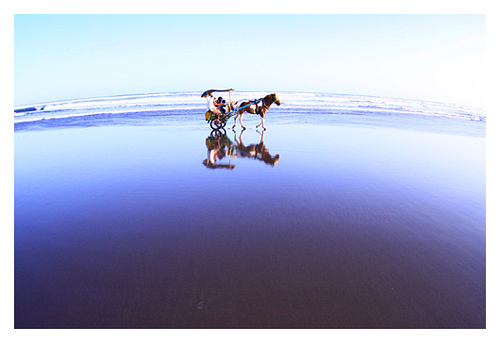
7. The best reflection shots happen with well illuminated subjects against a clear blue sky. That means the sun should not be in front but in back of your position. Use a circular polarizer and remove it if you don’t like it.
via


