Essentially, the main idea of photography is playing with light. If we are able play with light and control how it bounces off the subject, it will of course make for a great photograph. If we made mistakes in lighting, it will surely hurt the result.
The direction of light against the subject of the photo can be directed from several possibilities: front light, backlight, sidelight, top light, and bottom light. Each lighting direction has their own advantages, disadvantages, and level of difficulties while shooting.
This post will concentrate on discussing backlighting, where the source of light is from behind the object of the photograph. Backlight can become a challenge because of the level of difficulty associated with the direction of the light source. The resulting photograph of backlight can be diverse and extraordinary if done well.
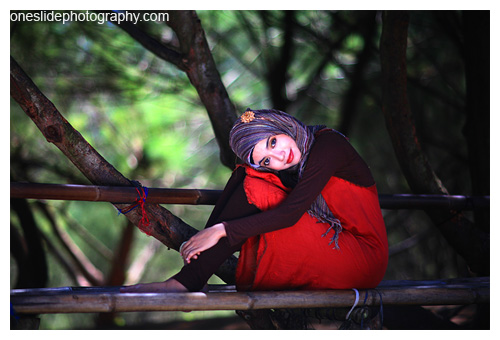
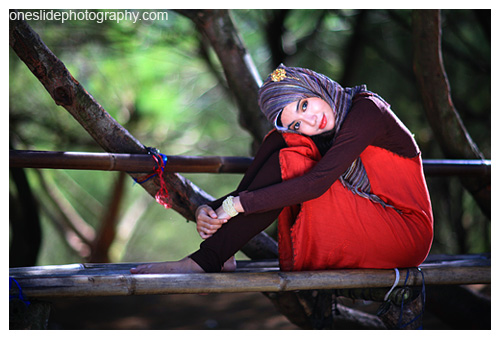
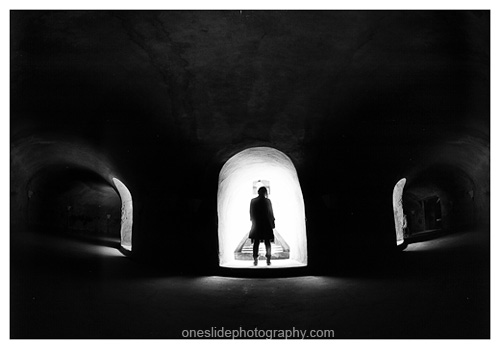
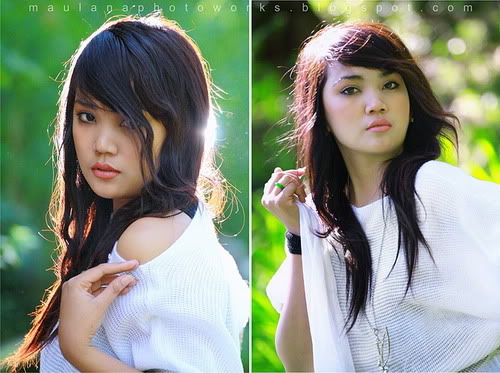
Photographing with the backlight technique will prominently separate the object from its background, making the photograph highly dimensional. In addition, other varieties of this technique will result in photographs such as: silhouettes, translucent photos, and rim light (including flares). The results of course will depend on the techniques used by the photographer.
Typically, using this technique will result in silhouette photographs that tend to be under exposed (UE). The backlight photo technique, however, can also create photographs that are not under exposed with applied with additional lighting acting as a fill-in light.
The fill-in lighting will of course not be the main source of light. The intention of the fill-in flash is to create a gradation in the light making the photo appear dramatic and increases in art value. With the backlight technique, adding fill-in lighting from the side will create charming photographs and will accentuate the shape of the object. If applying the backlight technique in a photo studio, place the light source behind the object. Then, additional light sources can be used as fill-ins. This additional lighting can be placed in front, side, or below the object as the photographer see fit.
Tips for applying the backlight technique:
1. Prepare a flash unit or reflectors for the fill-in light. For further information on the fill-in technique, consult this page.
2. Fill-in lighting isn’t necessary if a silhouette photograph is desired. Tips and tricks on how to execute a good silhouette photograph can be read here.
3. Use a lens hood to avoid flares from appearing in your photographs. If flares are desired, then do not use a lens hood.
4. If a backlight photo shoot is to be done in an outdoor setting, then the photo shoot should be scheduled within the “golden hours” because that’s when sunlight is at its best position (not overhead), easing in the backlight photography execution. For further information, consult here.
By understanding the direction of the light source, the result is expected to be better and more diverse. Good luck!
