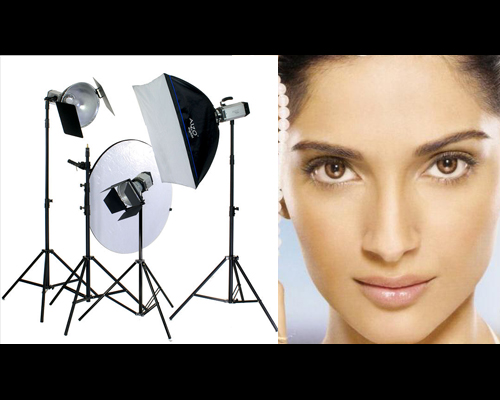
One of the hardest things to get right in a photograph is the lighting. Too much light, too little light, or a combination of the two can ruin an otherwise perfect photo. But, luckily this problem can be solved if you understand the types of lighting, how they affect your camera and what you can do to use these effects to your full advantage.There are basically five commonly excepted portrait lighting setups in photography. These portrait lighting setup are based on the placement of the main light, relative to the subject and camera.
Butterfly lighting
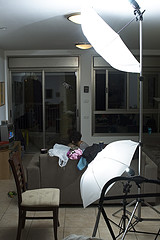
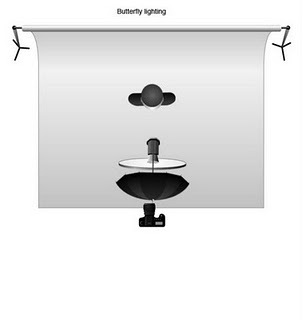
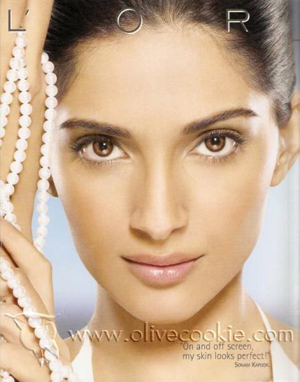
Butterfly lighting, also known as Paramount lighting, became a staple pattern for the Hollywood photographers of the 1930s. This lighting is characterized by the butterfly-shaped shadow that it casts below the nose. When the nose is pointing in the direction of the light, wherever it may be, and the light is high enough to cast a downward shadow, you end up with butterfly portrait lighting. The butterfly pattern can be quite useful for a variety of faces, but is at its best on lean subjects with high and pronounced cheekbones. It is produced by placing the light source above the face (typically 25-70 degrees) and in line with the direction in which the face is pointing.
Rembrandt lighting
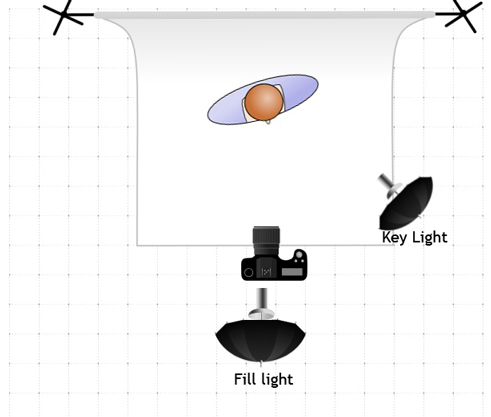
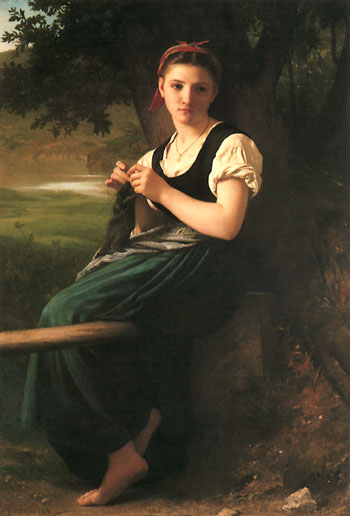
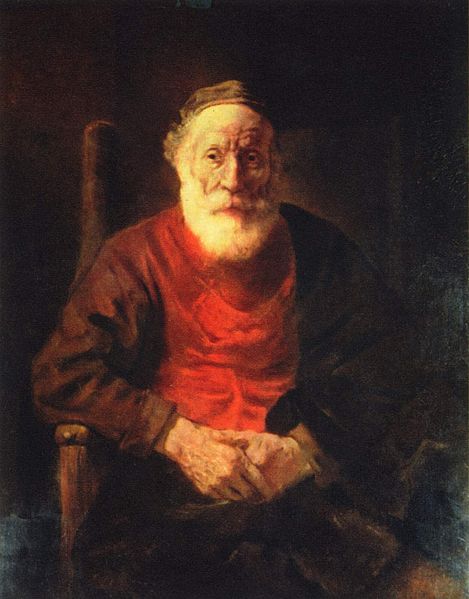
Rembrandt lighting is a lighting technique that is sometimes used in studio portrait photography. It can be achieved using one light and a reflector, or two lights, and is popular because it is capable of producing images which appear both natural and compelling with a minimum of equipment. It’s basically short lighting where the shadow from the nose connects with the shadow on the side of the face, thus creating a triangle of light on the short side of the face. If the nose shadow does not connect with the cheek shadow, it’s not considered to be Rembrandt lighting, just short lighting. Rembrandt lighting is a name given to the lighting effect that the old master used to use for the lighting effects in many of his paintings.
Split lighting
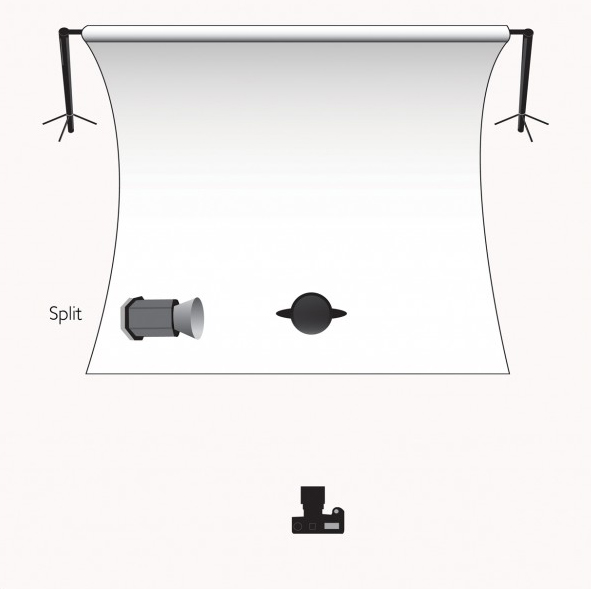
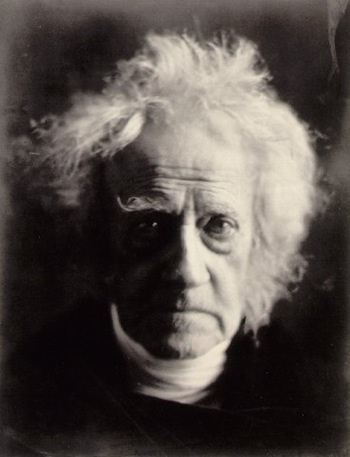
Split Lighting brings out a lot of texture. It occurs when the key light illuminates only half the face. It is an ideal slimming light. It can be used to narrow a wide face or nose. It can also be used with a weak fill to hide facial irregularities. The Fill Light should be even with the camera and up high while remaining opposite your Key Light. Your Key Light needs to be lower than the position used with Rembrandt Lighting. For a highly dramatic effect, split lighting can be used with no fill.
Broad Portrait and Short Portrait Lighting

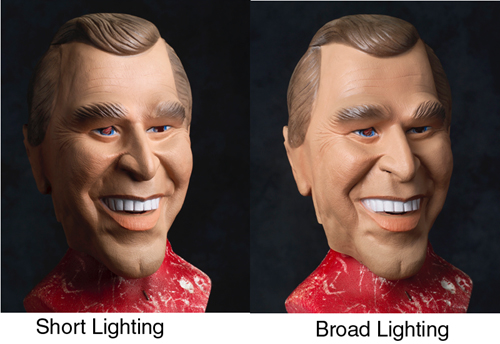
Broad portrait lighting is when the main light is illuminating the broad side of the face and the shadow from the nose is being cast onto the short side of the face. In other words, broad lighting is when the more exposed side of the face is facing toward the main light.The broad-lighting position is very useful, but not so popular as the short position. It is often said that broad lighting makes a face look fuller, as it illuminates both the side and front of the face.Broad lighting is also useful for eliminating eyeglass glare, as the direct reflections from the light source are directed away from the camera. Short lighting is just the opposite. Short portrait lighting is when the main light is coming from the short side of the subject and the broad side of the face is more in shadow. In other words… If the subject’s nose is facing left and the light is coming from that same side. The short-lighting position is probably the most commonly used position. It works well with a variety of faces and is often mentioned as the choice for narrowing the face.
Basic Lighting Tutorial by Jay P Morgan on YouTube:


