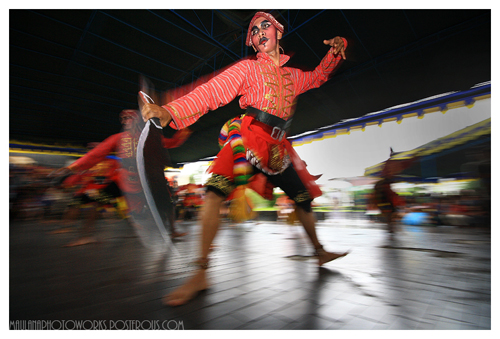
One of the most creative ways to show movement is to use a technique called panning. The image featured on this page is an example of panning. Panning is a photography technique that “freezes” a moving subject while adding motion blur to the background, giving the viewer a distinct sense of movement in the image. This was accomplished by swinging the camera with the biker as he rode by, and using a slow shutter speed to show movement in the background that wasn’t moving with the the camera.
Here are 9 Tips to Improve Your Panning Photography:
1. Choose a moving subject. For this project, it’s probably best to head outside as you’d have a wider selection of moving subjects. Best to start off choosing a subject that’s moving at a slower pace and in a straight line, like someone strolling or a car slowing down at an intersection. Once you get the hang of panning, you can choose faster subjects like moving cars, bike riders, running dogs or even roller coasters.
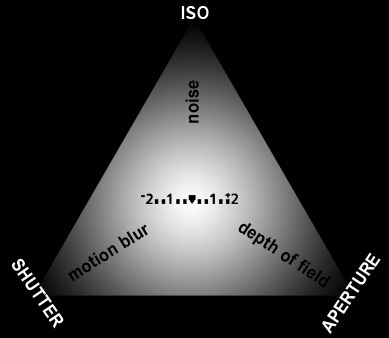
2. Panning requires a steady hand and a relatively slow shutter speed. It sometimes takes experimentation to get the correct shutter speed for your photo, depending on how fast the subject is moving. You want something slow enough to create blur in the background but not so slow that you can’t keep up with the subject. When I take panning photos I prefer to preset my exposure and shoot in manual, but shutter priority with a slow shutter speed or aperture priority with a very small aperture can also work well.
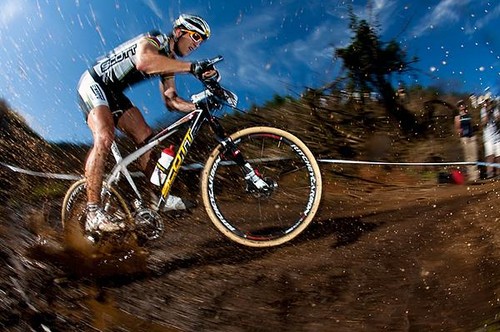
3. Use a flash or strobe to freeze your subject. For the photograph in this post I had an off-camera strobe set to my right (about a 45-degree angle to the subject) and used that as a fill-light to freeze the subject. This is not necessary all the time, but can certainly be a valuable method in some situations. In most cases an on- or off-camera speed-light will also work extremely well.
4. Pre-focus and use manual focusing. Figure out approximately where the subject will be at the time of exposure, focus your lens, then make sure your focusing is set to “manual”. You will most-likely be using a small aperture for this setup, so you will have some wiggle-room for your focusing which will help you to get a sharper image.
5. Shoot in the shade. If possible try to find a spot where there is very little or no direct sunlight. An area that has too much light will make it difficult to slow your shutter speed down enough for a panning shot. If you are unable to find an area with low enough light, you can always try using an ND (neutral density) filter to cut out some of the light coming into your lens.
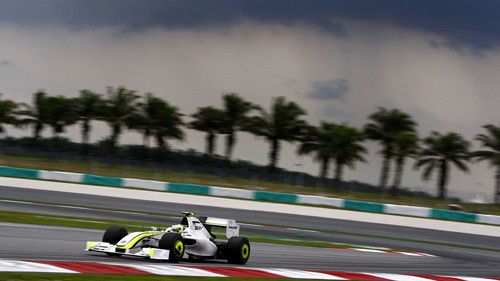
6. Track the subject through the entire motion. When your subject comes into view, fix your lens on them and follow them from left-to-right (or vice-versa), click your shutter as they land on the spot you want to capture them, and then continue to follow the subject until they are out of range. This will ensure that you get their full range of motion and shutter speed, and won’t stop short of your exposure.
7. Shoot when the subject is directly in front of you. If you shoot while the subject is angled toward or away from you, the perspective will change slightly during the exposure, which will produce a less sharp subject.
8. Do not trust the LCD. Many of your panning shots will look sharp on the LCD, but it is almost impossible to determine if the photo is truly sharp without looking at the photo large on the computer. Zooming in on the LCD can help, but I personally can never tell without seeing it large.

9. Keep in mind that the faster your shutter speed is the easier it will be to keep your subject crisp.


