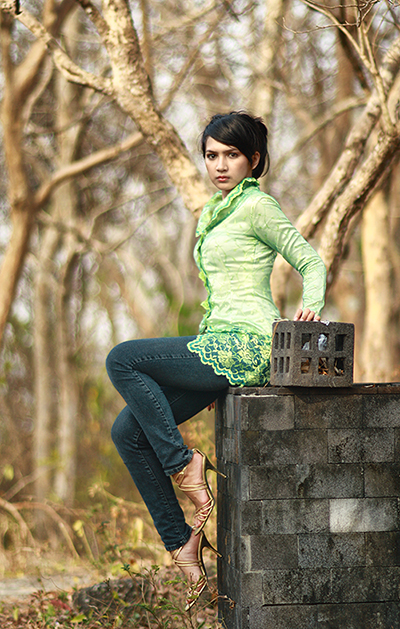
Outdoor shooting technique is a little bit different from the indoor one. Even though there is abundance amount of light that gets in, we do not always get good photos from there, especially when the object of your photo is a human or a portrait of someone. One of the major reasons is because when you shoot a portrait of a person, the object is exposed to dazzled sun so the eyes tend to narrow and the image shadow often appears too strong on some parts. So how to actually get a good photo in this very case? Read the following tips on lighting in photography that will help resulting good outdoor images.
1. Pay attention to the lighting of the location
Lighting is one of the most important aspects in photography. Learn the characteristic of light in the location and if you think it does not adequately support your need, too fierce for instance, you are suggested to wait for some time.
2. Try some varieties of lighting conditions
After learning some characteristics of the light, try to experiment with lighting conditions in photography. Do not waste your time waiting for the golden hour (the exact and right time to shoot because the lighting is the best around one hour after the sun rises and one hour before the sun sets). Try to shoot in different conditions of lighting. Sometimes, when the sun is fierce, it can be a good time to shoot especially when you want to take a shot with silhouette technique.
3. Pay attention to the light’s direction
Try to pay attention to the direction of the light in the location. It can be one with a backlight (object faces back to the source of the light so that object being shot appears dark when the background is light). Try to take the backlight into the right position so you can create photos with good lighting. Read again the article on tips and tricks to shoot with backlight here:
Photography Tips: Photographing with Backlight
4. Use flash as the fill in
Make use of flash on the daylight is not an odd thing because flash can actually be used to lighten dark object because it faces back the source of the light (backlight). Make use of flash compensation in your camera so that you can control how large the intensity of the flash used. More clear explanation on the use of flash, you can reread the following article here:
Fill In Flash Photography Tips
5. Make use of the reflector
A reflector functions to reflect the light to the object being shot in order to light the part with shadow. Because the function of the reflector is to reflect the light, you can use anything that can reflect the light. More about this fill in flash, you can read this article again:
Reflectors in Photography: Their Function and Various Types
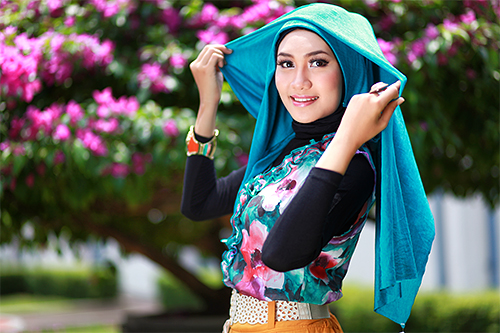
6. Shoot in shady place
Shoot in shady place can protect the object from the fierce of the beaming sun and reduce the light that gets onto the object. Even though you are in a shady place, you need to make sure that the light is adequate so that the shadow of the object will be even and not mottle because of other objects’ shadows.