Producing razor-sharp photographs is the ultimate desire of most photography enthusiasts, and many varieties of camera features and additional accessories have been formulated for this purpose. If you’ve purchased higher-end professional-class cameras and lenses with the newest features but you have yet to achieve this razor-sharpness you desire, maybe the following things may serve as your solutions:
Shutter Speed
If you speed up the shutter speed, then the chances of your images turning out blurry or shaky may dramatically lessen. Remember the following rules to ensuring sharp results when shooting using a handheld camera: “use a shutter speed with the value of twice the focal length of your lens.” Let me elaborate with the following instances:
– If the focal length of your lens is 50 mm, then shoot with a shutter speed of 1/100 second or faster.
– If the focal length of your lens is 100 mm, then use a shutter speed setting of 1/200 second or faster.
– If the focal length of your lens is that of 200 mm, then use 1/400 second or faster
Well, you get the idea. But the previously stated rule is just a parameter used to ease the production of sharp photographs. If you’re used to shooting with slower shutter speeds (essentially having a steady set of hands), then you’re free to use as slow a shutter speed as you see fit. But the point here is, the faster the shutter speed, the lower the chance you’ll be producing shaky photos.
Lens
If you happen to have a DSLR camera, choose the best lens you can afford. Good quality lenses can drastically improve the sharpness of your image. Kit lenses (lenses that are usually bundled with an entry-level and mid-level DSLRs) usually result in relatively poor quality photos. My advice to you; when you purchase a new DSLR, buy the camera body and your lenses separately. Avoid the bundled packages. Good quality lenses are usually ones with a large aperture (f/2.8). A good lens usually also has an “image stabilizer” or “vibration reduction” feature, which will lessen the effects of any shakes or tremors felt by the camera. Thus further ensuring the heightened sharpness of the resulting image.
(Important note: switch off the image stabilizer feature when you are shooting with your DSLR mounted on a tripod. Failing to do so will result in the degradation of sharpness of your images.)
Aperture
Aperture affects the depth of field (the focused area of your photograph; DOF). Increasing the aperture number will result in the expansion of the DOF. With the DOF expanded, the picture as a whole will appear sharper; from its foreground all the way to its background. But remember, the smallest aperture number of a lens is not its sharpest setting. Using the smallest aperture of f/22 on a lens for example, will result in the diffraction of the lens, creating a less sharp image.
Lens’ “Sweet Spot”
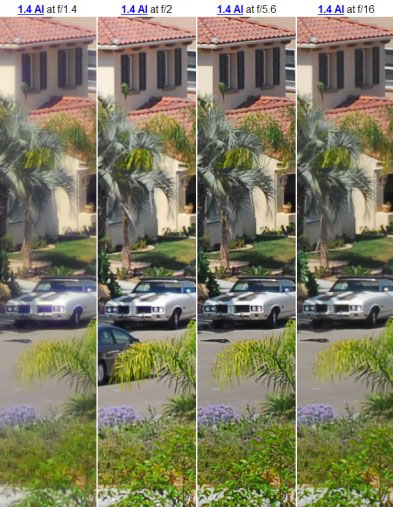
Lenses have their own respective “sweet spot.” Sweet spots is a specific aperture setting where the lens will produce its sharpest possible results. The lens’ sweet spot is usually located two or three stops above the lens’ maximal aperture capability. In a f/2.8 lens, for instance, the sweet spot would be at f/5.6. So when you set that specific lens to that specific setting, you will most likely produce razor sharp photographs.
Aperture sharpness tests by Ken Rockwell

ISO
Increasing the ISO will accelerate the shutter speed and will allow you to choose a larger aperture. If you are photographing indoors, increase your ISO. But don’t go overboard with this though (e.g.: set the ISO to 600 when shooting inside a house). Setting your ISO too high (usually above 800), may result in the visibility of noise in your photos (tiny black dots) and will result in your photos appearing pixelated.
Focus
Don’t just rely on the autofocus of a camera. Check carefully with your eyes on the area where the focus point is located. When photographing faces at close range, make sure the focus point falls on the eye area of the model. When photographing an inanimate object, make sure that the focus lies on the point you meant to focus on. The main focus problem on a DSLR lies in the front/back focus. For a more detailed explanation on how to check the focus points, click here.
Tripods
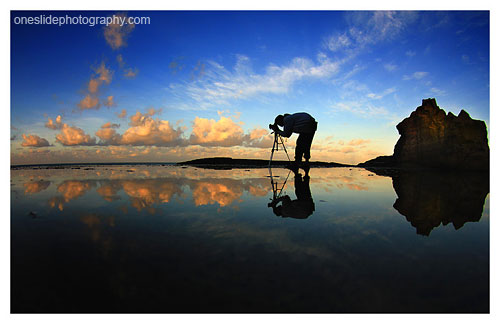
Tripods may be impractical and inconvenient; but if you’re willing to carry it around, you’ll further increase your chances of getting a sharper image. Especially vital if you want to generate an HDR or panoramic photograph, carrying around a tripod may be well worth it. Besides that, tripods are especially useful when you’re shooting photos at night.


