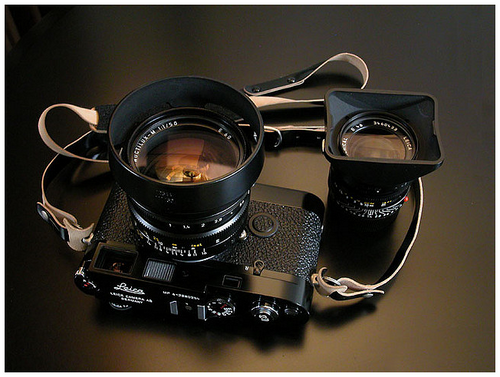
The golden age of analogue cameras has diminished to make way for a newer more high-tech age of the DSLRs. This however, does not mean that analogues have been pushed into a corner. There’s still a minor breed of young photographers still investing their interest in these most vintage mode of photography. These enthusiasts, however, usually aren’t very well informed in the criteria of the cameras that they should buy. Something as simple as figuring out the conditions of various components, whether they still function well or if they are defective is no easy task. It is understandable, what with these elder cameras having no LCDs in the back for one’s quick previewing pleasure.
Below is a list of steps you should use as a checklist in examining the condition of an analogue camera, to ensure that you purchase a camera in good working condition.
The main thing to check, before checking the physical attributes of an analogue camera, is the reasonableness of its price. The price offered should be that of the normal market price for said type. If the price is deemed rational, then you should start proceeding with these next examination steps. (Collectibles or rare analogue items may be exceptions.):
1. The general state of the analogue body
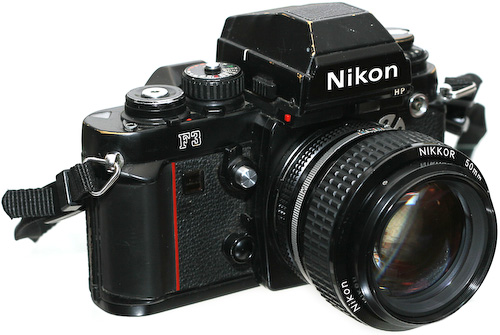
This includes the conditions of the exterior (dents, scratches, rusts). Very fine dents and scratches (hairline scratches) are often difficult to spot. Tilting the camera at different angles and shining the device under a lamp may help. You could also use a magnifying glass for a more detailed examination.
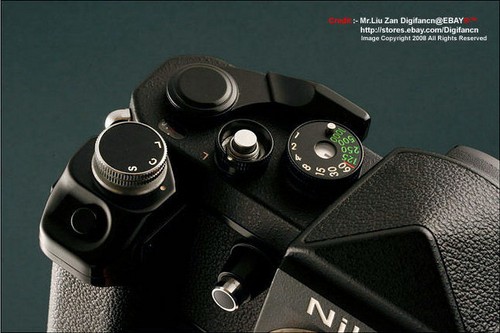
2. Buttons
Make sure the trigger button and the settings toggle functions normally and can be turned smoothly.
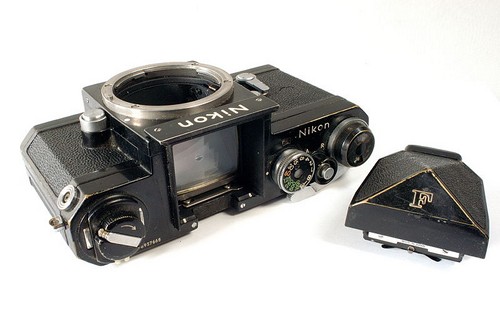
3. Viewfinder
Peer through the viewfinder and check for dust specks, dirt, signs of mildew and fog. Dust can appear as a few spots, many spots, in groups or spread around. Mildew can appear as threads, random cracks, rooted lumps. The viewfinder can be deemed as fogged if you can have a clear view when you peer into the viewfinder. With a lens attached, check for any specks on the split screen. It can sometimes be difficult to differentiate whether the specks are on the screen or on the lens, so checking with your own personal lens is best.
4. Shutter
Cock the shutter and shoot. Try this in at least 3 different shutter speed settings; its highest, mid, and lowest. Also try and shoot in the Auto, B, and M90/60 (if applicable) settings. If there is a malfunction at a certain setting, the noise it makes will sound different than the rest.
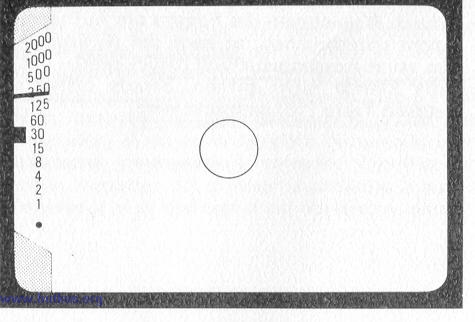
5. Metering
Point the camera at different spots and pay attention to the change in the digits, indicator needle, indicator lights, etc. Then, while still peering through the viewfinder, toggle the shutter speed to different settings. If functioning normally, this should result in the indicator needle or lamp to react differently as you toggle the shutter speed settings. If the needle or lamp gives no indication of change, this may be a malfunction. To make sure, check the camera’s battery.
6. The cleanliness of the front interior
Open the front lens and check the exposed interior. Check the condition of the mirror, whether it has any scratches or any unwanted specks. For analogues with a fixed (not changeable) lens, this step and the step after this can be ignored.
7. The cleanliness of the back interior
Open the back of the camera (where the film is usually inserted). The parts that come into contact with the back cover is usually the part most vulnerable to rusts and dirt. This part is shaped like trenches across the top and bottom.
8. Circulation of the film strip
All the parts of the camera that comes in direct contact with the film roll should be inspected. Also, don’t forget the back part which pushes the film when the back cover is closed. Rusts or dirt will scratch and damage the film strip.
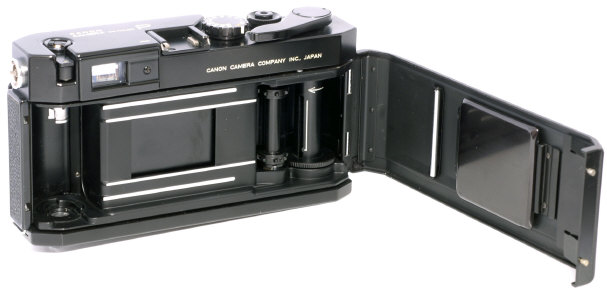
9. The shutter curtain
Check if the shutter curtain open and close perfectly or not when the trigger button is pressed. Don’t forget to cock the shutter before pressing the trigger button.
10. Insert a roll of film
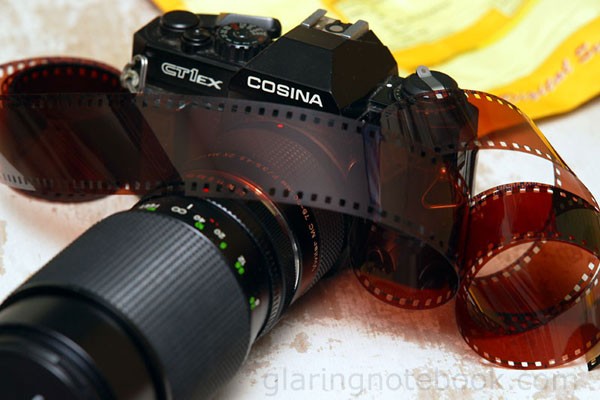
Lastly, insert a roll of film, cock, and shoot to further check the function of step number 3. Preferably, develop said roll of film and check how it actually turns out.
The steps above are meant for mechanical analogue cameras. There are slight differences for megafinders, pocket analogue cameras, or plastic-based analogues; but these steps would still generally apply.
Happy hunting, and have fun experimenting with these elder cameras. The exhilarating feeling of developing a roll of film is one that can’t be found when using modern DSLRs. The mystery adds to the fun!


