Light, we all know, is everything in photography. No wonder then that it is so hard to work with a digital camera’s flash. Sure, everyone can get a half decent shot about half of the time by relying on the built-in meter and auto-exposure system, but the results will be disappointing as often as not. As with so many things in life, there is a right way and a wrong way to work with you camera’s flash.
Here are some tips and tricks that will help your flash photography.
1. Fill-in flash photography
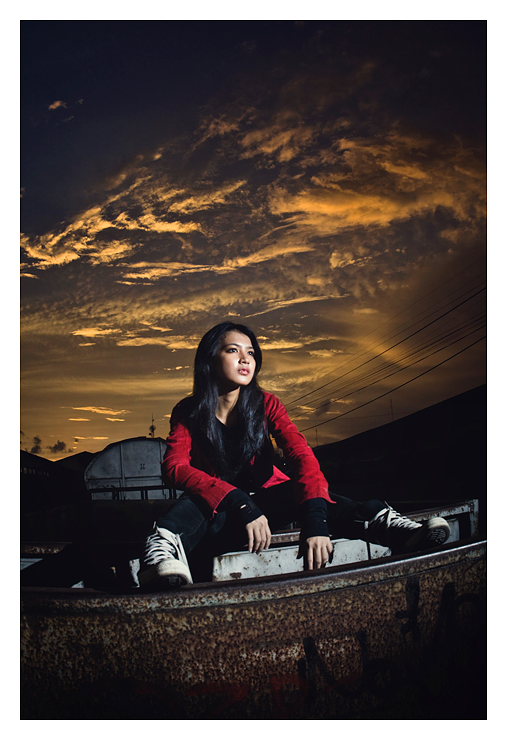
There are a number of possible solutions to this problem but one of the easiest is to override the camera and force it to shoot with a flash – a technique often called ‘fill flash’. Fill Flash is used to supplement existing light in a scene – it’s generally not the primary light source (as a flash often is at night) but fills in light where natural light doesn’t go. While most photographers are used to firing a flashgun in the dark, using the gun in full daylight can also improve pictures. Fill-in is a technique which requires a small burst of flash, even in bright, sunny circumstances. In fact, it is most often used where there is a big contrast between very bright highlights and deep shadows. The small burst lowers the contrast by mainly affecting the dark areas. It is especially useful when taking pictures of people wearing hats, where the eyes would otherwise be obscured by dark shadows. The technique looks most natural if the flash burst is about a stop darker than the ambient light, but most cameras will measure for this automatically. More often than not, all you need to do is manually turn on the flash in bright conditions, and viola, fill-in flash. Where you want to manually adjust the brightness of the fill-in burst, take a light reading of the sunlit areas, then set the flash to one or two stops less than would be required to match this. This second, manual method allows for greater control. Fill-in is most often used in portraiture, but it is by no means limited in its scope. It can just as easily be used in close-up photography and even architectural photography. Keep in mind that Fill Flash can be overdone. If you beef up the flash too much your shots can look artificial and overexposed. Aim for subtlety when using a flash and you’ll really lift your shots.
2. Bounce the flash off the ceiling
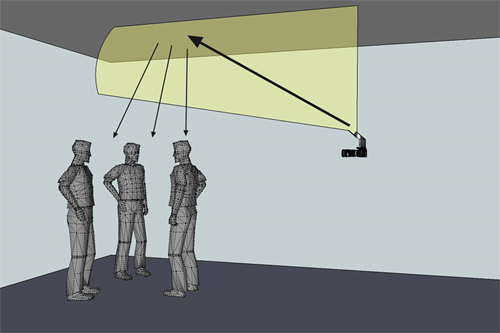
Bouncing a flash does not mean you drop it from a high building, and you do not need to buy a rubber flashgun. You will, however need a gun with a rotatable head, which means that this technique is usually off limits to those using a built in pop-up flash. By rotating the flash head and pointing it at a reflective, neutral colored area, such as a white ceiling, you can bounce the light off a larger area, thereby softening the light which reaches the subject. It also allows the photographer with a much more versatile method of controlling the lighting, as the flash burst will now effectively be coming from a different angle. Bouncing the flash is a very powerful technique, but to use it to greatest effect, there are also some things to remember. The first is that if the flash is bounced of a colored surface, this may cause the picture to have an overall colorcast. Neutral or white colored walls and ceilings work best, but if there isn’t one nearby, you can improvise by using a large white card or a custom made reflector which can be folded and kept in your camera bag. You can, of course use the color cast caused by bouncing the flash of a colored surface to great effect, but don’t be caught unaware, or you might need to spend many hours in photoshop fixing the problem. The second is that the angle at which the light hits the reflective surface is equal to the angle at which it bounces of that surface, so you may have to carefully align the flash head to light the subject exactly the way you want.
3. Multiple Flashes
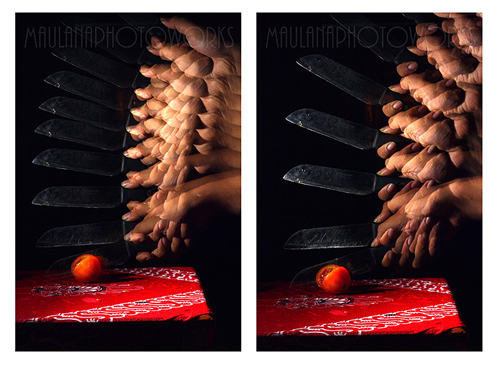
Like the previous example, here the shutter remains open for a period of time, but here, the flashgun is fired a number of times during the exposure. With our example of the ball flying through the air, the ball will be stopped every time that the flash is fired. But this technique is a lot more versatile. You could for instance remove the flashgun from the camera (provided it is of the hot shoe variety) and then light different parts of the scene with flashes from different directions. You could even move the same object around, and fire the flash a number of times, thereby effectively creating a multiple exposed image. Just imagine, you could photograph yourself playing chess against yourself without the use of Photoshop!
4. Use second curtain flash.
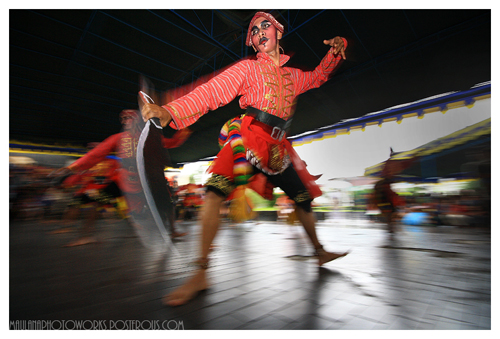
Your flash system may let you choose whether the flash goes off at the beginning of the exposure (‘first curtain’) or at the end of the exposure (‘second curtain’). Second curtain flash generally gives more natural looking results. Shoot a running subject with ‘first curtain’ and she will appear to be running out of her body. Interesting, but unnatural. The same running subject shot with ‘second curtain’ flash will gain a sense of movement; a ghostish shadow will trace the path she moved during the exposure.
5. Flash Exposures Involve Two Exposures.
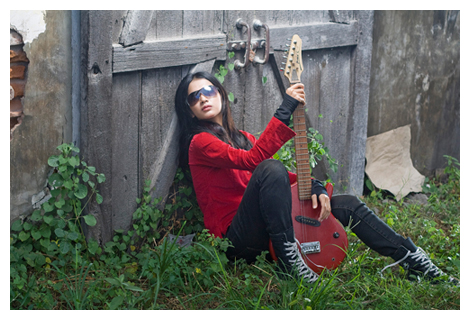
It took me a long time to understand a simple principle: outdoor flash requires managing two independent exposures: a flash exposure and an ambient light exposure. The flash exposure generally includes your primary subject. The ambient exposure is based on the light available in your subject’s surroundings. Applying this two-exposure mind-set led me to realize that I can adjust the ambient light exposure to produce one effect and adjust the flash exposure to create a second effect.
via


