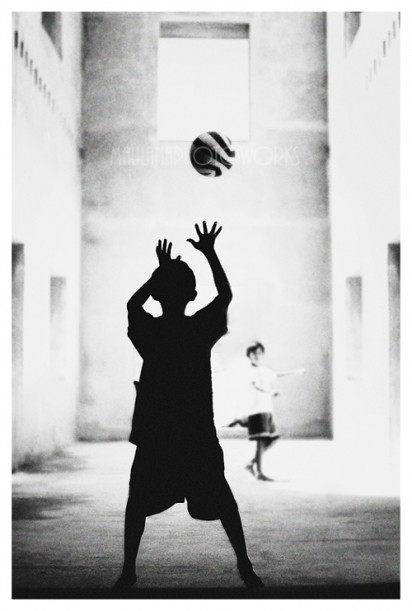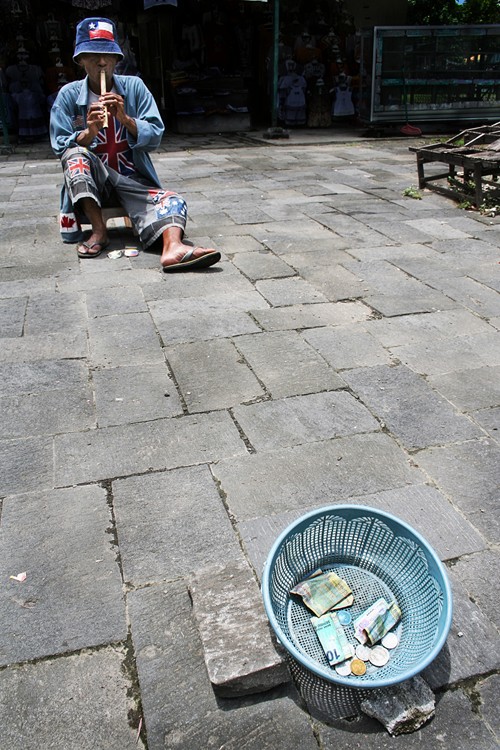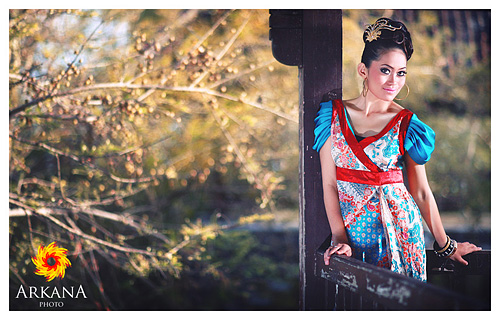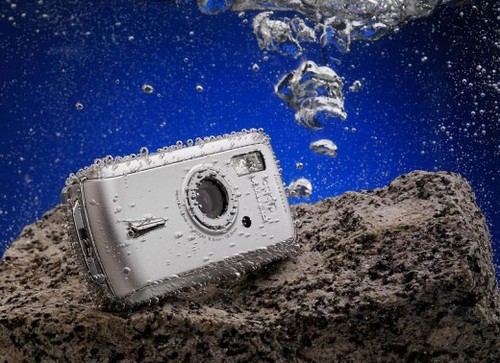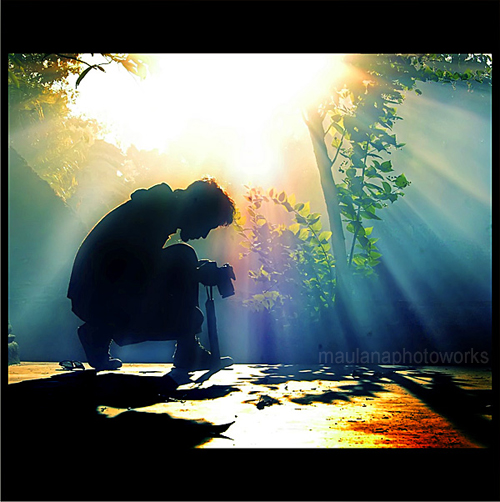
Here are a lot of very technical descriptions going around on how to take great silhouette shots that you might want to look up but let me attempt to run through some basic steps that should get you the results you’re after. In essence what we’re trying to do is make your camera think that it’s the bright parts of the picture you are most interested in.
1. Choose a Strong Subject
Almost any object can be made into a silhouette, however some are better than others. Choose something with a strong and recognizable shape that will be interesting enough in its two dimensional form to hold the interest of those viewing your image. Silhouettes can’t draw on the colors, textures and tones of subjects to make them appealing – so the shape needs to be distinct.
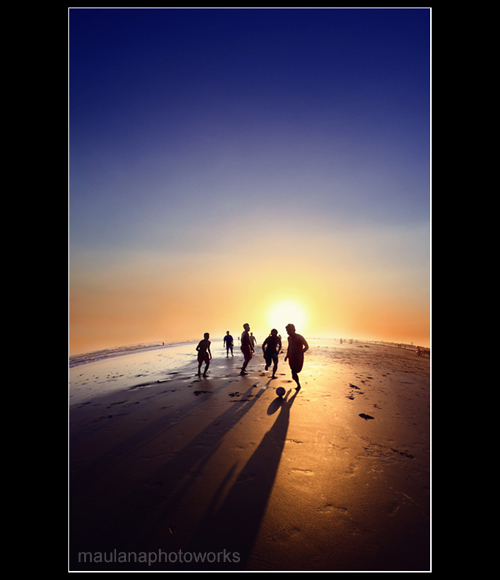
2. Turn off your Flash
If you have your camera in automatic mode your camera will probably want to use its flash which will ruin the silhouette. Basically you want as little light on the front of your subject as possible – so the flash has to go (basic – but I’ve seen a few attempted silhouette shots with the flash firing).
3. Get Your Light Right
When it comes to lighting your subject you’ll need to throw out a lot of what you’ve learnt about normal photography and think a little backwards. Instead of lighting the front of your subject, in silhouettes you need to ensure that there is more light shining from the background than the foreground of your shot – or to put it another way – you want to light the back of your subject rather than the front. The perfect light for this is placing your subject in front of a sunset or sunrise – but really any bright light will be able to do the trick.
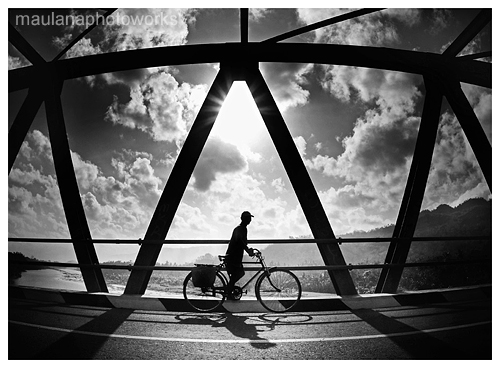
4. Frame your image
Frame your shot so you are shooting with your subject in front of a nice plain, but bright background. Usually the best backgrounds will be a bright cloudless sky with the sun setting. You want to position the brightest light source behind your subject (either so that they hide it or so that its in the background somewhere).
5. Make silhouetted shapes distinct and uncluttered
If there is more than one shape or object in the image that you’re attempting to silhouette, try to keep them separated. ie if you are silhouetting a tree and a person don’t have the person stand in front of the tree or even leaning on it as it will merge them into one shape and as a result your viewers could be confused about what the shape is.
Also when framing you’ll probably want to photograph silhouetted people as profiles rather than looking straight on. This means that more of their features (nose, mouth, eyes) are outlined and they are more likely to be recognized.
