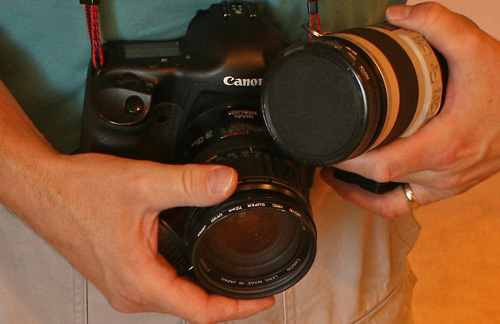
One of the advantages of a DSLR is that the user can interchange different lenses on the camera body to achieve a variety of photographic effects. DSLR cameras have a release mechanism to change lenses quickly and easily so you don’t miss that perfect photo.
Here are some technique to change DSLR lenses. The advantage of this technique, is that it is so quick and easy, it minimizes your chance of getting dust on your camera’s sensor.
1. Avoid changing lenses in risky environments (where there is wind, water, dust etc) – pick a lens and try to stick with it.
2. Turn camera off before changing lenses. On some cameras the sensor has an electric charge that will actually attract dust to it like a magnet.
3. Have your lens ready when you’re changing lenses (be prepared and have your new lens ready to attach so that your camera is open for as short a time as possible).
4. Hold the body of the camera in one hand and support the lens with the other hand. Try to keep the camera pointing down as you change the lens.
5. Press the lens release button, usually located on the body of the camera near the lens. This action may be easier if you press the button with a finger on the hand that is holding the camera body. That way you can maintain a good hold on the lens.
6. Hold camera upside down (with the opening facing down) when changing lenses – it’s impossible for dust to fall into your camera if it’s upside down (unless there is wind that blows it up into it).
7. Continue pressing the lens release button, and slowly twist the lens off and away from the camera body. Do not use force; the lens should come off easily. If it does not, make sure the release button is pressed down completely.
8. Hold the camera body securely while aligning the new lens to it. One “alignment guide” is located on the lens while the other is on the camera body. Depending on your DSLR camera, alignment guides may vary. Some types might have two dots to align, while another type might have two small lines.
9. Check your lenses for dust before attaching them – have a blower that you can get any specs off your lens with.
10. Line up the alignment guides and turn the lens into the camera body in the opposite direction from the way you removed it. The lens should click into place. If it does not, make sure you are not pressing the lens release button.
11. Put lens covers on both ends of the lens you removed. Store the lens securely in a camera bag.


