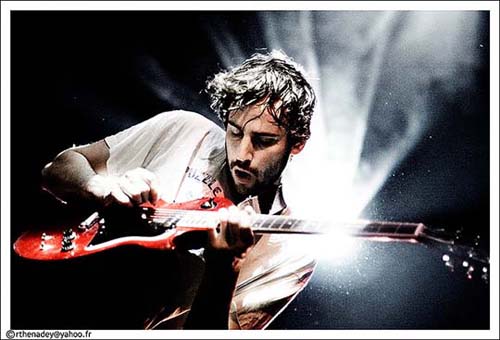
Of all the types of photography ever invented, I would claim that live concert photography is up there among the most difficult ones. You have five thousand fans behind you, and there is a band in front of you. Nobody stands still. In fact, even the notion of standing still ruins the idea of a good music photo. The bouncers hate you, because you are in their way. The crowd is jealous of you. Crowdsurfers will kick you in the head. The band thinks you’re annoying. The lighting is never bright enough, and changes so frequently that you’re screwed even in the few moments that it is.
Taking pictures at concerts presents quite a few problems, namely:
-Your subject is far away.
-Your subject is moving (in most cases).
-You’re moving.
-It’s dark.
This generally results in pictures that are:
-Too small.
-Too blurry.
-Too dark.
-Too grainy.
Forget composition, forget the rule of thirds, forget all that fancy-schmancy artsy-fartsy stuff. If you have a blurry picture, you have a bad picture, plain and simple. Most people at concerts aren’t concerned about getting a great shot, they just want a shot. This guide will help you to get that shot in focus and visible — which personally, I think makes a photo well on its way to being “great” (since most people can’t even get those right).
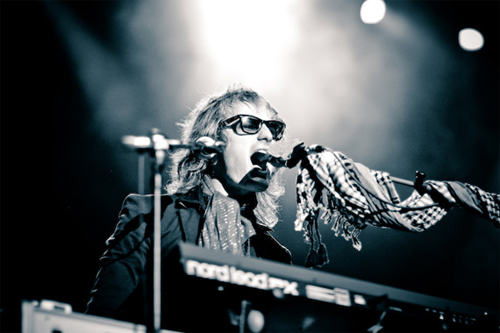
Here are 10 tips for On Stage Photography:
1. Get close
If possible, go early to ensure a front seat. And use a telephoto zoom lens (mine is a 75-300 zoom) to get even closer. For dramatic effect, get super close to capture only the face, complete with frown and perspiration.This may seem the obvious thing to do, yet I often see many photographers shooting from the back. My guess is that they want a wide angle view to capture the overall scene.
Sure, that might look nice. I once saw a very wide angle shot of The Esplanade amphitheatre taken from the side of the stage. It was a pretty picture, with the stage lighted and the audience in the dark. Only trouble was, the caption said the performer was 16 years old, but from that distance, one cannot tell if he was 16 or 60!
The point is this: performers tend to be showy people and you want to get close to capture details of their expressions. Close-ups of their dressing, jewellery, tattoos and other ornaments can make interesting images too. Additionally, I love taking photographs of hands. Among my favourite On Stage photographs is one showing a Digeridoo Artiste’s hand, several hands of guitarists plus the hands of a choir conductor.
Concerts are about people, sometimes famous people. A landscape approach misses the point.
2. Don’t sit in the middle
Taking close up shots at concerts is a lot more challenging than taking distant, wide angle shots. From afar, it does not matter if the microphone stand divides the singer into two. From close up, even the shadow cast by a microphone can ruin an otherwise good picture. One way to avoid these troublesome obstructions is to shoot from one side. Don’t sit in the middle.When I don’t have a choice, then it is time to get creative. I have had good results by purposely incorporating obstructions like music stands into the composition. See, for example, Funky Mathilda and Eye on Mr Conductor.
3. Don’t use flash
Once, I met an old photographer who devised a complicated contraption, using handles, Blu-Tack, rubber bands, etc to attach a second flash to his camera. Another time, I saw one photographer place a slave flash at the edge of the stage and he was promptly told to remove it.Unless expertly used, in a complicated and troublesome manner, flash photography will not likely produce good results. The images will have a certain ‘dead’ feel about them. Moreover, flash distracts the performers and blinds the people around you. Some venues disallow flash photography anyway. So don’t use flash.
Instead, use a high ISO setting. I usually set my camera to ISO 1600, increasing to ISO 3200 if necessary. To use such high settings, you need a relatively new camera (mine is a Fuji S5 Pro) that will produce good, low noise images at high ISO.
4. Shoot in ‘S’ or shutter priority mode
First, do not use ‘P’ or program mode, where everything is automatic. You have no control over how the images will turn out. For maximum control, learn to shoot manual. Otherwise, use a semi-automatic mode.
I used to always shoot in ‘A’ or aperture priority mode. It became a habit and I used it without much thinking. For stage photography I would set the aperture to its widest (f4 to f5.6, since I do not own an f2.8 lens) and hope for the best. But this was still not good. If I inadvertently pointed at a dark spot, the camera would compensate by giving me an extra long exposure. The result: a correctly-exposed image with very bad camera shake.When I switched to using ‘S’ or shutter priority mode, I began to get more consistent results. At worst, if I set the shutter speed too high, I would get a dark image. But I check my images often enough. If I find them too dark, I would switch to a slower speed and, because I am aware of it, be more careful to steady my hands.
A dark but sharp image can, to some extent, still be corrected using Adobe Lightroom or Photoshop. A correctly-exposed image with camera shake is generally useless – except in a case like The Angry Drummer. where the facial expression of the drummer is too good.

5. Use the right exposure metering
Most concerts will have one of two setups:
1) there’ll be a spotlight on the performer and little light elsewhere;
2) there’ll be lots of flashing, unpredictable, tungsten-balanced, multi-colored lights going off, mixing in with a spotlight on the current lead musician every now and then. In both cases, you need to be able to isolate what part of your subject you want to base your meter reading on; both conventional center-weighted and more current evaluative/matrix metering systems will not deliver the precise information you require.
What you can rely on is a spot meter, one that measures 4% or less of the subject area; this area is usually outlined by the center circle on a standard viewfinder screen. With an in-camera spot meter, you can select precisely which area you want to see detail in, make up your mind about the subject’s reflectance (is it too bright? too dark?), adjust compensation accordingly, and shoot from there.
Let’s take two examples. The first follows number 1 above: a musician in a spotlight, while everything else is dark. The camera is held vertically; the artist’s head, shoulders, and trunk fill the frame. How do different meters read the scene?
– Center-weighted: The reading will be heavily based on the artist’s clothing. If she’s wearing a very reflective dress, the reading will underexpose her face; if she’s wearing all black, the reading will overexpose her face. Only if she’s wearing clothing that has similar reflectance to her skin will her face come out correctly.
-Evaluative/Matrix: If you place the circle that determines the reading over the subject’s face, the reading will overexpose her face since it will read a lot of darkness around her head.
-Spot: As long as the entire circle that encompasses the spot meter area covers her face’s skin tones, the meter will accurately read only the reflectance of the artist’s facial tones.
Centre-weighted metering tends to produce more ‘correct’ and consistent results for stage scenes, where some parts are brightly lit while other parts may be totally dark. Because the exposure is calculated depending on where the lens is pointed. With overall or ‘matrix’ metering, if the dark areas are too large, the main subject will be over-exposed. Spot-metering is an absolute no-no. It is too precise. If you just move your lens slightly, say from pointing at the nose to pointing at the cheeks, you could end up with totally different results.
6. Know your white balance
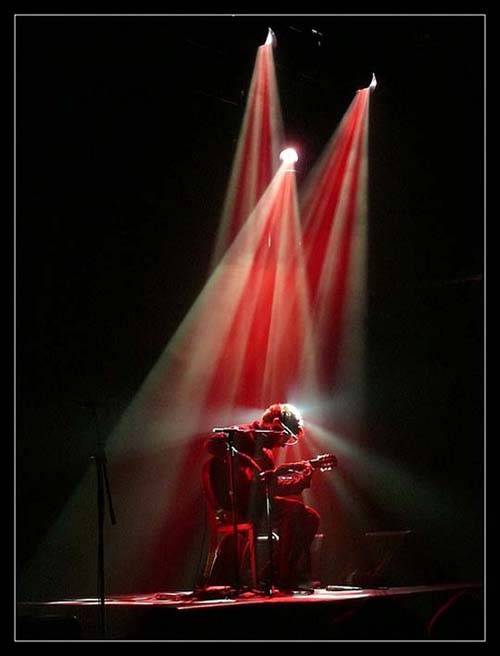
When I first bought my digital SLR, I only knew how to set the white balance to auto and it worked fine most of the time. When I started shooting stage performances, however, I found the automatic white balance (AWB) going havoc. I would get nice, almost perfect colors in one shot, crazy orange and red in the next. It occurred to me that the AWB might have been over-reacting to the color changes in the stage lighting. I began to experiment by shooting with a fixed color temperature, set at about 3200ºK. I stopped getting wild, havoc results. As I became more familiar with color temperatures, I would fine tune the temperature while shooting. In most situations, I find myself working with a color temperature range of between 2900ºK and 3600ºK. Still, I would always shoot raw and make the final, minor adjustments on Adobe Lightroom. Here, I have found it useful to reduce the ‘vibrance’ setting on Lightroom, to about -15. I find it produces a more natural skin tone.
7. Use single-area / manual focus
Under dim light conditions, the auto-focus function sometimes take too long to work. One solution is to use ‘single-area’ focusing mode, where the camera focuses only on the subject that you point at. This works a tad faster than ‘dynamic area’ focusing mode, where the camera takes information from other areas as well. Ideally, you should get used to manual focusing. In dim light conditions, this is often faster than auto. Enough of technical discussions… Now let’s consider what to shoot on stage:
8. Capture movement
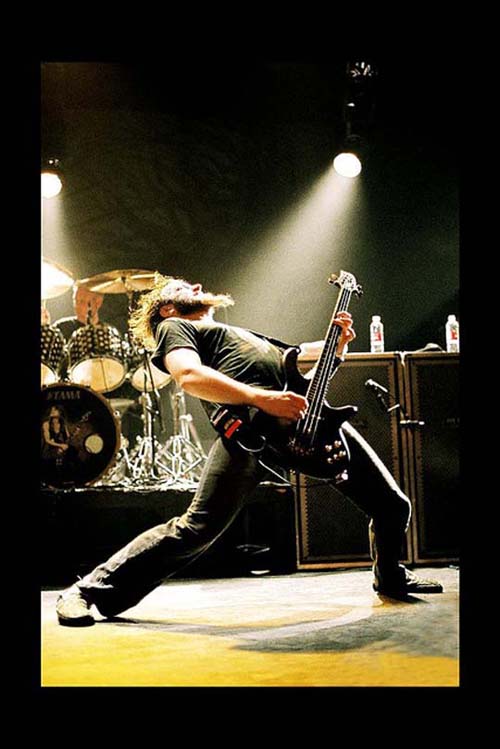
Earlier, I wrote a fair bit about how to avoid camera shake. At times it is a good idea to capture movement. It could be a hand strumming a guitar or beating the drums, or the arms of a conductor waving… even the whole person jumping or shaking in a frenzy, with the hair flying. Such movements impart ‘life’ to the image. Don’t always ‘freeze’ your images, least of all with a flash. To capture movement, you will need a relatively show shutter speed (and this is another good reason to shoot in ‘S’ mode). This, in turn, might mean having to use a tripod. But I dislike tripods, so I usually just experiment with my camera hand held, using shutter speeds of between 1/15 and 1/30 of a second. Often enough, I get good results.
9. Shoot performers at rest
It is not necessary to photograph performers only when they are performing. Often, they look good the moment just after they stopped, when you can almost see a sigh of relief that the performance had gone well.
One recent on stage image that I like is After the concert taken when most of the stage lights have already gone out!
10. Shoot lots of images
With my new found interest in On Stage photography, I am taking more photographs than ever before. I find that when the performance is good, I naturally end up taking more pictures and producing more good images. When the performances are exceptional — such as Raemker, Bali’s Ramayanaand the Singapore Junior Performing Arts Championships – I could end up taking more than 400 images a night. This might seem excessive. But sometimes, you need that many just to find one outstanding image from among the many that are merely good.
When it is a band of mediocre musicians, I might just take a few. Once, I even deleted the images without first viewing them on my computer. But generally, I don’t write them off too quickly. I do also get good images from mediocre performances, such as The guitarist wore black.
11.Photoshop
“Why bother with settings? If a picture is too dark, I’ll fix it in Photoshop!” you say.
Not so, I say. If a picture is too overexposed or underexposed, there is no way of fixing it. Take the Aerosmith picture above — try photoshopping it and getting back the detail on Steven Tyler’s shirt or face. It’s impossible because all the pixels are the exact same shade of white, there’s no information there to bring back the original image. Same with grainy pictures. I have yet to find any way to completely remove (or even partially remove) noise from pictures. This is why I would rather have a dark picture than a grainy one any day. Basically, don’t count on Photoshop to fix your mistakes. The best thing you can do is get the shot right the first time. Photoshop can be helpful to refine your pictures, however. In CS3, the photo editing tools are mostly located under Image > Adjustments. Levels is my favourite tool for fixing photos. This is where you make the picture darker or lighter and adjust the colours (white balance) using the eye dropper tools. If I’m not happy with the results Levels gives me, I’ll try Color Balance for the colour and Brightness/Contrast or Exposure for lightening/darkening. The Shadow/Highlight tool is pretty amazing the first time you find it. When you have an overexposed picture (in concert photography, this happens to faces a lot), you can increase the highlight amount to make features more defined (but 15 is the highest I would ever use). I generally don’t find any use for the shadow tool in concert pictures, but it can be handy for regular photos. I won’t go into any more detail here, since photoshopping photos is a whole ‘nother article, and it’s been done many times before by better people than I. The best thing you can do is experiment — but always keep the original pictures in case you make a mistake.
via via


